|
Age Range: 7 to 12
Grade Range: 2 to 6
Skill Level: Moderate
Appropriate for These Special Events:
Every Day and Rainy Days
Supports Subject Area(s) of:
Language Arts – e.g. step by step instructions
Mathematics - measuring
Visual Arts
Time Needed for Project:
1 hour plus drying time
Float a Boat
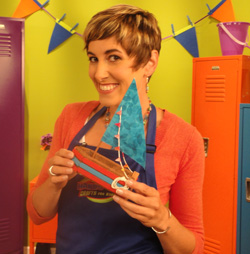
Designed by Candie Cooper
Main Materials:
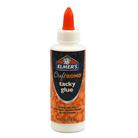
Elmer’s® Thick Bond Tacky Glue
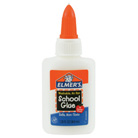
Elmer’s® White School Glue
FloraCraft® Styrofoam™ - 1" thick sheet - 6" x 8"
FloraCraft® Styrofoam™ Project Bricks
Apple Barrel Paint in Brown, Red, and Teal
1 Fat quarter of light weight fabric (18” x 22”)
Duck Tape Sheet in red and yellow tie dye
1/16” dowel rod
Click here to download a pattern for this project.
Basic Materials:
2 thumb tacks
White cord
Wax paper
Plastic knife
Paint brushes
Scissors
Wire Cutters
Craft sticks
Craft spoon
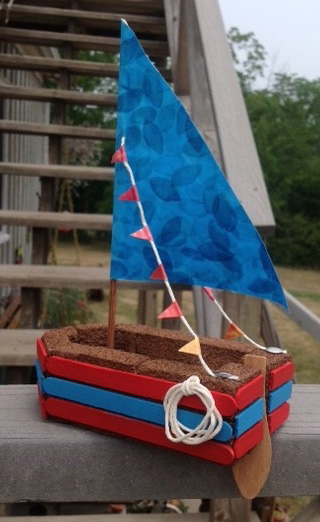
This is an easy project for future boat designers. Stack and line up the foam bricks on the foam board to create a unique boat of your own.
Begin by lining bricks up one by one in a rectangle shape-leave a gap for the rudder at the back end of the boat. Use a plastic knife to slice the bricks to create angles. Use the thick craft glue to adhere the small foam bricks to the large sheet of foam and leave to dry.
Trim away the excess foam board around the project bricks, make a slice in the back end of the boat for the rudder and paint the boat brown. The craft spoon and dowel rod can also be painted brown.
Cut the craft sticks to fit the sides of the boat with wire cutters. Paint with red and teal acrylic paints.
Glue the craft sticks to the side of the boat. Put the rudder in the back of the boat.
Trace the pattern for the sail onto the fabric and cut out. Lay out a sheet of wax paper with the fabric on top, wrong side facing up. Paint a layer of white school glue onto the fabric, lay the dowel rod in the center and fold the fabric over so it's even. Smooth out the wrinkles and leave to dry.
Cut a small slit in the top half of the sail just next to the dowel rod. Thread the cord through the slit.
Fold the tape sheet over 3/4 of an inch and cut small triangles-these will be the pennants that hang from the cord. Peal the backing from the triangles and stick them to the cord.
Poke the sail into the back end of the boat and glue in place. Use thumb tacks to anchor the pennant cords and glue. Trim the ends.
If your boat is top heavy, tape coins to the bottom or embed heavy fishing weights into the foam.
|