|
Age Range: 7 to 12
Grade Range: 2 to 6
Skill Level: Easy
Appropriate for These Special Events:
Every Day, Rainy Days, Birthdays and Special Days
Supports Subject Area(s) of:
Language Arts – e.g. step by step instructions
Mathematics - measuring
Visual Arts
Time Needed for Project:
1 hour
Main Materials:
Elmer's® Foam Board
Elmer's® Project Popperz® letters
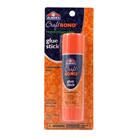
Elmer's® Repositionable glue stick
Elmer's® Permanent glue stick
X-acto® craft knife, metal ruler and self-healing mat
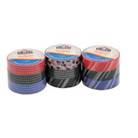
Elmer's® Designer Masking Tape
Pepperell Amy cord in three colors
Lanyard clips
Elmer's® bull dog clips
Horizon pony beads
Basic Materials:
Pom-poms
Decorative papers
Clothes Pins
Scissors
Instructions:
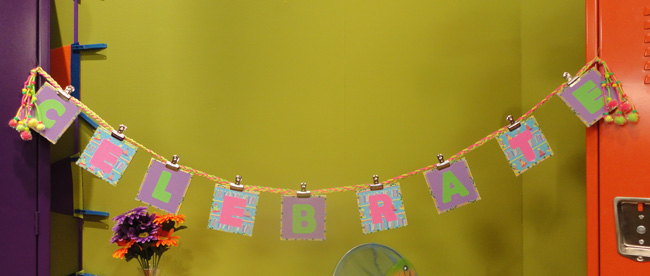
- Cut the foam core on the self-healing mat with the craft knife and straight edge ruler into 10 - 4" squares.
- Cut the paper in 4" squares---enough for front and back (20 pieces). You can alternate papers and patterns.
- Use the glue stick to attach the papers to both sides of the squares.
- Seal each square's edge with Designer Masking tape.
- Braid 6 feet of AMY cord. Make an overhand knot 8" from each end.
- String a bead onto each tail and knot in place.
- Use the repositionable glue stick to adhere letters to one or both sides of the squares.
- Attach a bulldog clip to the top center of each square.
- Attach a lanyard clip to the center of the braided garland followed by the hole on the bulldog clip to hang the letters. Repeat for remaining squares.
|
