|
Hands on Crafts For Kids is the resource for kids craft projects and instructions for kids 6-12 and parents, teachers and other group leaders. It includes school and curriculum based projects, multi cultural projects, and every day, holiday and seasonal ideas. |
| 1603-4 | Print | Close [X] |
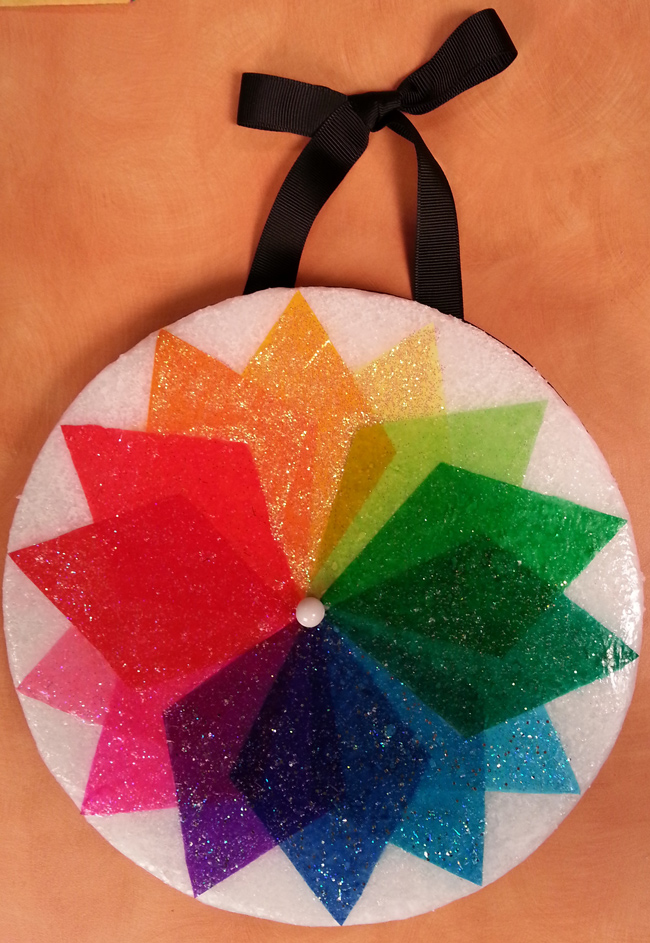
COLOR WHEEL |
 |
Always cover your work surface with a mat or some type of protective covering like wax paper or plastic.
Age Range: 7 to 12
Grade Range: 2 to 6
Skill Level: Moderate
Appropriate for These Special Events:
Every Day and Rainy Days
Supports Subject Area(s) of:
Social Studies
Language Arts – e.g. step by step instructions
Mathematics - measuring
Visual Arts
Time needed for project:
2 to 3 hours for assembly. Overnight drying time may be needed.
Main Materials:
FloraCraft® StyroFoam™ disc – 8”
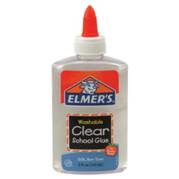
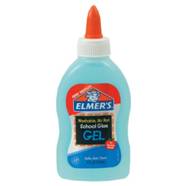
Elmer’s® Clear School Glue or Elmer’s® School Glue Gel
Elmer’s® Classic Glitter Glue – Blue, Green, Pink, Yellow
Right click this link and choose "Save As" to download a pattern for this project.
Basic Materials:
Tissue paper – white, 14 rainbow colors
Brushes - 1 1/2” chip brush, ½” flat
Scissors
Sewing pins
Ribbon – ½” black, 1½ yards
White pushpin or thumbtack
Foam plate or foil
Large paper clip
Instructions:
- Cut four pieces of white tissue about 2” larger than disc. Pour a puddle of Clear Glue on plate. Use chip brush to apply an even coat to one side ondisc. Carefully place one sheet of tissue over glue and smooth. Carefully apply another thin coat of glue over top. Repeat step for remaining pieces of tissue. Let dry – this may take overnight depending on weather.
- Cut ruler from pattern sheet. Place ruler on side of disc then press in pin at both lines. Line up lines with last pin and pres in another pin – continue around disc.Find center of disc and press in pin.
- Cut diamond pattern from pattern sheet. Cut pieces of tissue about 2” larger than pattern. Layer tissue in rainbow order starting with yellow referring to photo. Place pattern on top and hold in place with paper clip. Use scissor to cut around patterns.
- Pour Clear Glue onto plate. Using smaller flat brush, apply an even coat of glue in an area slightly larger than shape. Using pin at guide, position yellow tissue into glue lining tips with side and center pin then carefully apply another thin coat over top. Add more glue to surface for next piece then line up and glue light on orange section. Repeat steps with remainder of tissues referring to photo for color placement. Let dry and remove all pins.
- Squeeze a puddle of each Classic Glitter Glue on foam plate. Use small brush to apply a thick even coat over colored section of tissue, Yellow over yellow and oranges, Pink over pinks and red, Blue over purple and blues, Green over greens. Let dry. A second coat can be adding if more glitter is desired. Let dry.
- Wrap ribbon around side of disc then cut adding 1”. Apply glue to back of ribbon then press in place holding end with pin if needed till dry. To create hanger, tie remaining ribbon in bow, place ends under disc then determine length of hanger. Trim ends then glue in place holding with pins till dry. Press pushpin in center to hide ends if desired.
Our Partners:
|

E-mail questions about Hands On Crafts for Kids to info@craftsforkids.com |