|
Hands on Crafts For Kids is the resource for kids craft projects and instructions for kids 6-12 and parents, teachers and other group leaders. It includes school and curriculum based projects, multi cultural projects, and every day, holiday and seasonal ideas. |
| 1604-2 | Print | Close [X] |
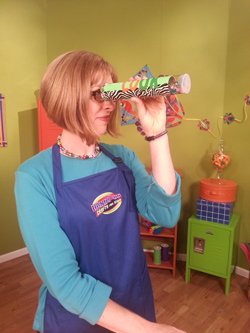
Make Your Own Kaleidoscope
by Katie Hacker
|
 |
![]() When you see the “helping hand” symbol on a project, it means you may need adult supervision to do the project.
When you see the “helping hand” symbol on a project, it means you may need adult supervision to do the project.
Age Range: 7 to 12
Grade Range: 2 to 6
Skill Level: Moderate
Appropriate for These Special Events:
Every Day and Rainy Days
Supports Subject Area(s) of:
Language Arts – e.g. step by step instructions
Mathematics - measuring
Visual Arts
Time needed for project:
1 to 2 hours
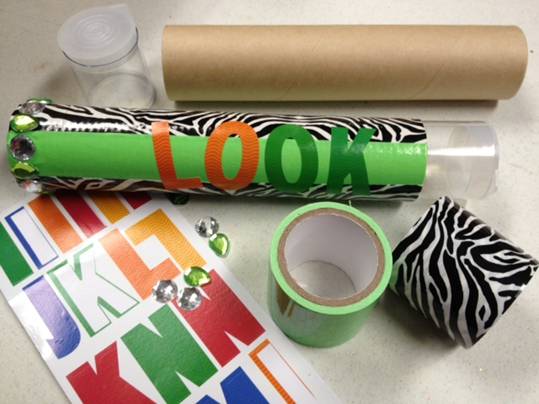
Build your own kaleidoscope and decorate it with fun embellishments.
Main Materials:
1 1/2” wide x 7 3/4” long cardboard tube
Small plastic container/lid that fits inside tube
Three 1 1/2” wide x 7-7 1/2” long strips of acrylic mirror
Thin cardboard donut for eyepiece (see step 1)
Wide patterned duct tape
Wide solid Alex® duct tape
Skinny Alex® duct tape or masking tape
Sticker letters
Acrylic gems
Basic Materials:
Elmer’s® Tacky Glue
Scissors
Assorted beads, rocks, gems to put inside the kaleidoscope
Instructions:
- Cut a donut out of thin cardboard to fit over the end of the tube to form an eyepiece. (Ours came with the kit, but you could use a recycled cereal box to cut one out.)
- Place the donut on a piece of wide duct tape and use scissors to press through the center circle.
- Cut slits in the tape toward the inner edge of the circle and use your fingers to press the ends inside the donut.
- Hold the eyepiece over the end of the tube and fold the tape down to attach it to the tube.
- Tear off a strip of skinny duct tape (or masking tape) that's about 5” long.
- Lay the tape sticky-side-up on your work surface.
- Place the mirror strips side-by-side across the tape.
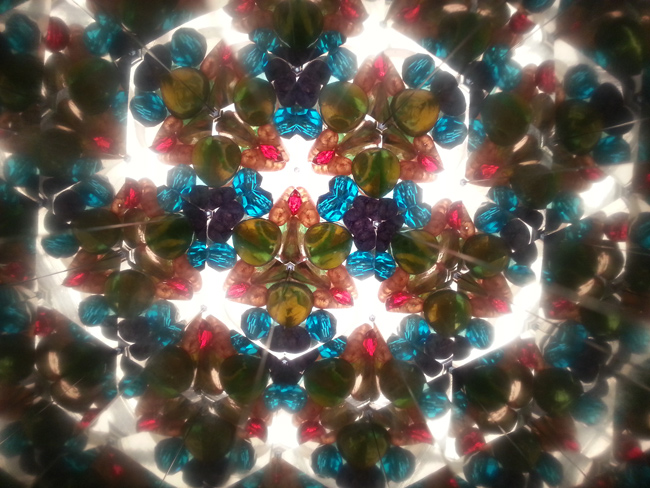
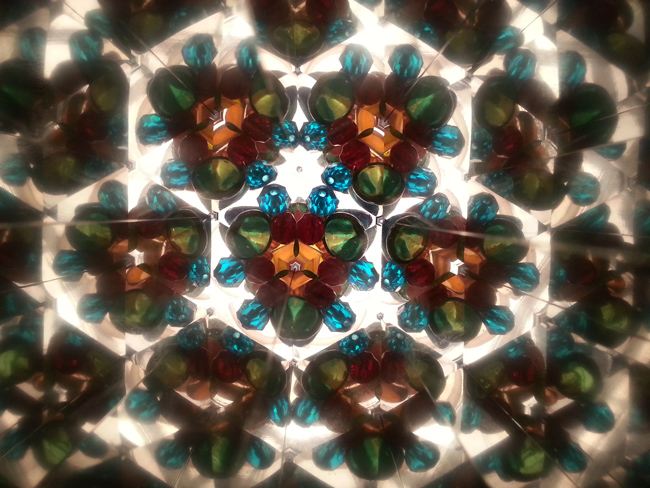
- Fold the tape so the mirrors form a triangle shape with the shiny sides on the inside. This forms the prism that will reflect color and light inside the tube.
- Place the prism inside the tube.
- Place a strip of wide solid color duct tape on the tube from end-to-end and trim the edge flush with the end of the tube. Repeat on the opposite side of the tube.
- Place a strip of wide patterned duct tape overlapping the solid color duct tape to cover the exposed cardboard tube. Repeat on the opposite side of the tube.
- Run a thin line of craft glue around the bottom of the plastic container and place it inside the cardboard tube.
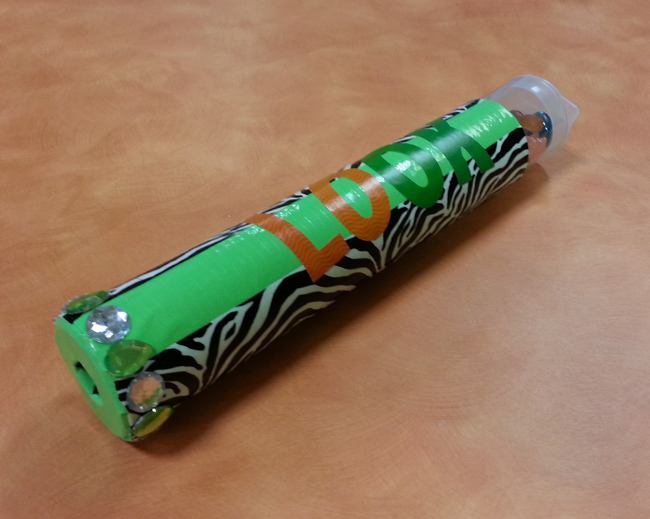
- Use stickers to spell the word “look” or your name or another favorite word.
- Glue acrylic gems around the edge of the eyepiece.
- Place beads, gems and other small, colorful objects inside the plastic container.
- Look through the eyepiece and turn your kaleidoscope to see beautiful patterns!
Note: Kid's kaleidoscope kits are widely available. This is convenient because it can be difficult to find the right size of kid-friendly mirror strips and tubes that work together. We used the Nature Kaleidoscope Kit by Gemini Kaleidoscopes for the basic structure of our kaleidoscope.
Our Partners:
|

E-mail questions about Hands On Crafts for Kids to info@craftsforkids.com |