|
Hands on Crafts For Kids is the resource for kids craft projects and instructions for kids 6-12 and parents, teachers and other group leaders. It includes school and curriculum based projects, multi cultural projects, and every day, holiday and seasonal ideas. |
| 1607-2 | Print | Close [X] |
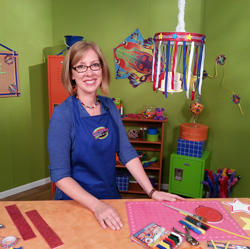
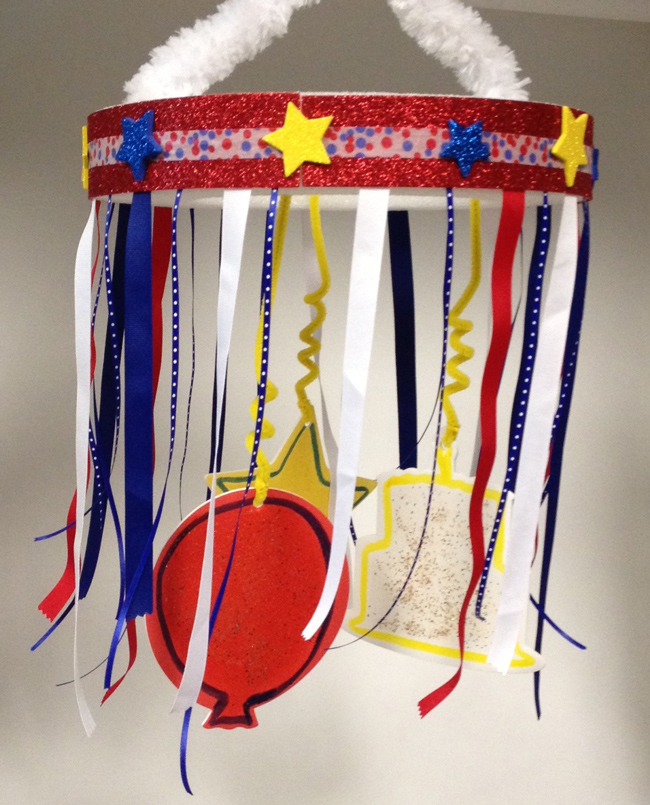
Birthday Mobile by Katie Hacker
|
 |
Always cover your work surface with a mat or some type of protective covering like wax paper or plastic.
Age Range: 7 to 12
Grade Range: 2 to 6
Skill Level: Moderate
Appropriate for These Special Events:
Birthdays and Every Day and Rainy Days
Supports Subject Area(s) of:
Language Arts – e.g. step by step instructions
Mathematics - measuring
Time needed for project:
2 hours – allow for drying time
Main Materials:
Styrofoam™ 18x2” flat foam wreath
Elmer’s® Tacky Glue
Elmer’s® Glitter Glue: red, yellow and gold
Elmer’s® Project Popperz® ColorSticks™: red, yellow and blue
Elmer’s® red/blue dotted masking tape
Elmer’s® foam board shapes (stars, ballons, cakes, etc.)
Red self-adhesive glitter craft foam
Pepperell® white giant chenille stem
Pepperell® three yellow standard chenille stems
Basic Materials:
5/8” grosgrain ribbon: red, white, blue
1/8” blue/white polka dot ribbon
3 paintbrushes
Hole punch
Pinking shears
Ruler
Pencil
Craft mat
Scissors
Instructions:
- Use a tempera paint pen to make a thick outline on one of the foam board shapes. Let it dry.
- Use a paintbrush to brush glitter glue inside the outline on the foam board shape. Let it dry.
- Punch a hole in the foam board shape.
- Pass the end of a yellow chenille stem through the hole on the foam board shape and coil it around the stem above the shape to make a hanger.
- Coil the stem around the paintbrush handle 2-3 times and bend the end in a right angle..
- Repeat Steps 1-5 for all of the birthday shapes.
- Mark, measure and cut three pieces of craft foam that are 1-7/8x12” long and and one piece that is 1-7/8x1-1/2”long.
- Use pinking shears to cut four grosgrain ribbons and four polka dot ribbons that are 11-12” long.
- Remove the backing from one long pieces of glitter craft foam and attach the ribbons to the back in an alternating pattern.
- Attach the craft foam to the edge of the wreath.
- Repeat Steps 8-9 for the remaining long pieces of craft foam and continue the pattern with the short piece of craft foam.
- Cut the white chenille stem to 20” long.
- Fold it in half and twist the center to make a hanging loop.
- Bend the ends in right angles.
- Use the paintbrush handle to make holes on opposite sides of the top of the wreath.
- Dip the ends of the white chenille stem in glue and press them into the holes on the wreath. Let it dry.
- Press and glue the yellow chenille stem hangers evenly spaced on the inside surface of the wreath.
Our Partners:
|


E-mail questions about Hands On Crafts for Kids to info@craftsforkids.com |