|
Hands on Crafts For Kids is the resource for kids craft projects and instructions for kids 6-12 and parents, teachers and other group leaders. It includes school and curriculum based projects, multi cultural projects, and every day, holiday and seasonal ideas. |
| 1608-4 | Print | Close [X] |
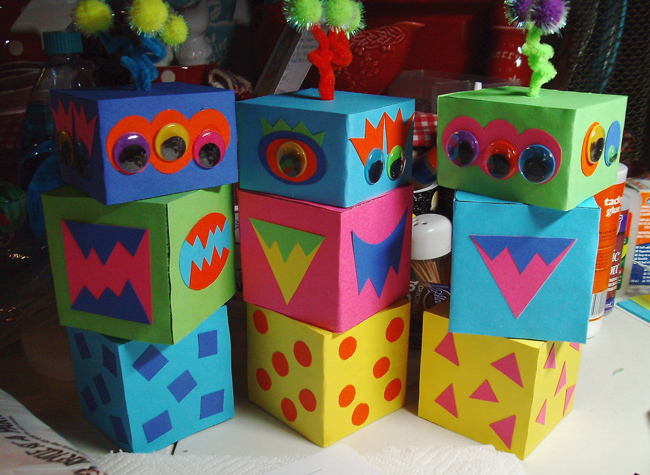
MONSTER BLOCKS |
 |
Always cover your work surface with a mat or some type of protective covering like wax paper or plastic.
AgeRange: 7 to 12
GradeRange: 2 to 6
Skill Level: Easy
Appropriate for These Special Events:
Every Day and Rainy Days
Supports Subject Area(s) of:
Language Arts – e.g. step by step instructions
Visual Arts
Time needed for project:
1 hour
Main Materials:
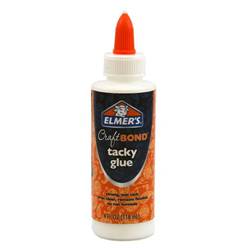
Elmer’s® CraftBond Tacky Glue
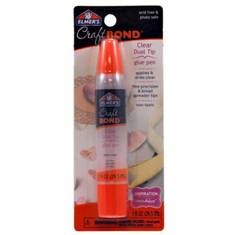
Elmer’s® CraftBond Dual Tip Glue Pen
FloraCraft® StyroFoam™ - 9 - 3” cubes
Right click here and choose "Save As" to download a pattern for this project.
Basic Materials:
Cardstock – neon colors
Pipe cleaners – green, orange, turquoise
Wiggle eyes – 1” and ¼” – neon
Pom poms – neon color
Pencil
Scissors
Craft stick
Serrated knife
Wire cutters
Rubber Band
Instructions:
- Squeeze a thin bead of Craft Bond Glue around edge on one side of foam cube then add some to center. Use side of craft stick to smooth evenly over area making sure glue is at edge. Press onto corner of paper. Use scissors to cut paper from edges of cube. Repeat with other end.
- Apply glue to one side of foam then onto corner on long side of paper. Press into place and crease at edge. Repeat step gluing paper to two more sides. Trim off excess. Glue paper to last side and trim. Let dry. Repeat steps with five more cubes changing paper color for each.
- Use serrated knife to cut remaining cube in half. Cover with paper and let dry.
- Cut out patterns from pattern sheet. Use pencil to trace onto different colored papers and cut out.
- Layer mouth and eye sections together as shown then use small tip end of No-Wrinkle Glue to glue together.
- Position eyes on thinner foam cubes then mouths and shapes on remaining squares as shown then glue in place.
- Squeeze a small dot of Craft Bond Glue to back of wiggly eyes and press in place. Let set a few minutes before turning cubes as they might slip.
- To create antennae, start by cutting pipe cleaners into thirds. Pull threads of pom pom apart and add a small dot of glue. Press one end of pipe cleaners into glue then press pom back together. Let dry.
- Twist pipe cleaners around pencil and slip off. Twist end of three together. Use pencil to poke a small hole it top of small cube, add a dot of glue to end then insert into hole.
Our Partners:
|

E-mail questions about Hands On Crafts for Kids to info@craftsforkids.com |