|
Hands on Crafts For Kids is the resource for kids craft projects and instructions for kids 6-12 and parents, teachers and other group leaders. It includes school and curriculum based projects, multi cultural projects, and every day, holiday and seasonal ideas. |
| 1610-2 | Print | Close [X] |
DIY Playhouse by Candie Cooper |
 |
![]() When you see the “helping hand” symbol on a project, it means you may need adult supervision to do the project.
When you see the “helping hand” symbol on a project, it means you may need adult supervision to do the project.
Always cover your work surface with a mat or some type of protective covering like wax paper or plastic.
Age Range: 7 to 12
Grade Range: 2 to 6
Skill Level: Moderate
Appropriate for These Special Events:
Every Day and Rainy Days
Supports Subject Area(s) of:
Language Arts – e.g. step by step instructions
Mathematics - measuring
Visual Arts
Time needed for project:
2 hours – allow time for glue to dry
Main Materials:
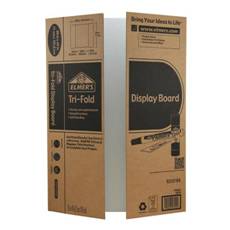
- 2, 24” x 20” (40” total) Elmer’s® Tri-Fold Foam Boards
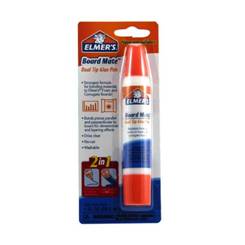
- Elmer’s® Board Mate™ Dual Tip Glue Pen
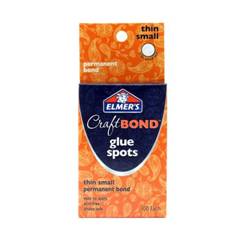
-Elmer’s® CraftBond™ Glue Spots
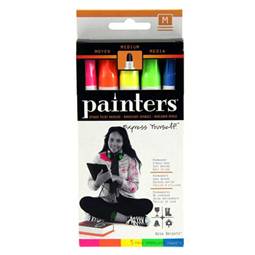
- Elmer’s® Painters® Markers
- Floracraft® Simple Style decorate mesh
- 3-5 sheets poster board, various colors
Basic Materials:
- Ruler
- Scissors
- Craft snips
- Thick colored aluminum wire, 3 yd.
-Pom-Poms
Directions:
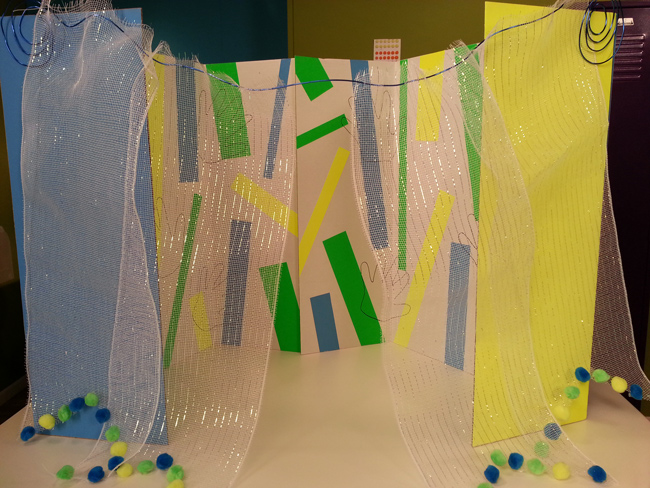
1. Cover the exterior of the two tri-fold foam board with poster board in different colors.Measure and cut poster board with scissors and then glue down to the board with a gluestick.A pattern can be made by fitting two pieces of the same color on the side panels with a different color in the middle panel, then reversing these colors for the second board.
2. Cut strips of paper (you can use your scraps) from the poster board and arrange them on the inside of your tri-fold. Glue down with a gluestick. Use lots of angles and try and keep the edges aligned to the edge of the tri-fold.
3. Trace your hand on the inside walls with markers.
4. The wire will be used as a curtain rod for the entrance to your play tent. Measure the width of the entrance and cut the wire to size. Make sure to leave room at the edges of the wire so you can curl them under in a spiral.
5. Cut strips of decorative mesh to fit your curtain size. Cut a chevron at the bottom of each piece. Attach these to the wire with clothes pins.
6. Optionally, you can attach pom-poms to the curtains with glue spots.
Our Partners:
|

E-mail questions about Hands On Crafts for Kids to info@craftsforkids.com |