Hands on Crafts For Kids is the resource for kids craft projects and instructions for kids 6-12 and parents, teachers and other group leaders. It includes school and curriculum based projects, multi cultural projects, and every day, holiday and seasonal ideas.
It is the online home of the public television program Hands On Crafts for Kids.
When you see the “helping hand” symbol on a project, it means you may need adult supervision to do the project.
Always cover your work surface with a mat or some type of protective covering like wax paper or plastic.
Always use care when using tools or a heat source. Be careful and safe!
Age Range: 7 to 12
Grade Range: 2 to 6
Skill Level: Moderate to Advanced
Appropriate for:
Home Décor, Every Day and Rainy Day Activities
Supports Subject Area(s) of:
Mathematics - measuring
Language Arts – e.g. step by step instructions
Visual Arts
Approximate time needed for project: 2 hours, plus extra time for glue to dry
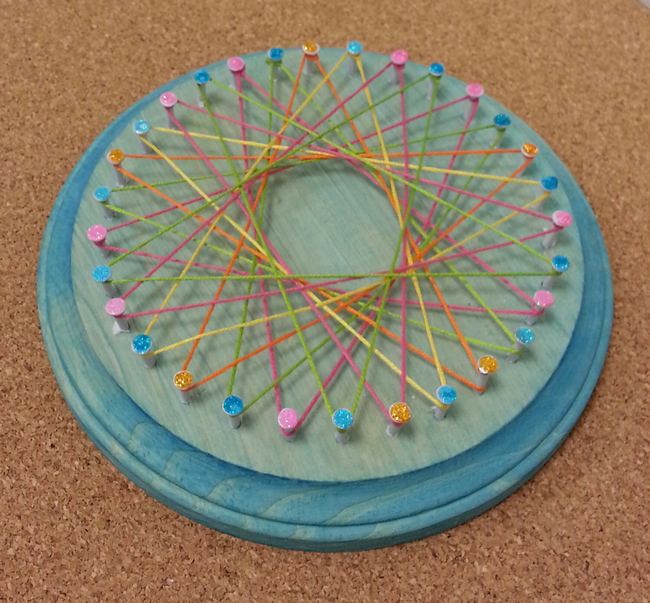
STRING ART
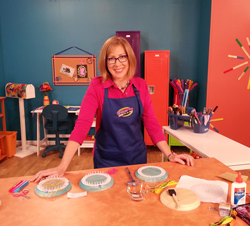
by Cheryl Ball
Materials Needed:
Elmer’s® Classic Glitter Glue Pens
Elmer’s® Glue-All®
Sargent Art® Tempera Paint – Turquoise
Wood round – 6-7”
Nails – (30) white
Hammer
Floss – fuchsia, lime, yellow, orange
Scissors
Low tack masking tape
Scissors
Foam plate
Foam brush
Sand paper or sanding sponge
Pop Top
Directions:
Use sand paper to smooth wood if needed.
Squeeze a puddle of Turquoise Tempera paint on foam plate. Use foam brush to paint an even coat on entire wood round. Let dry.
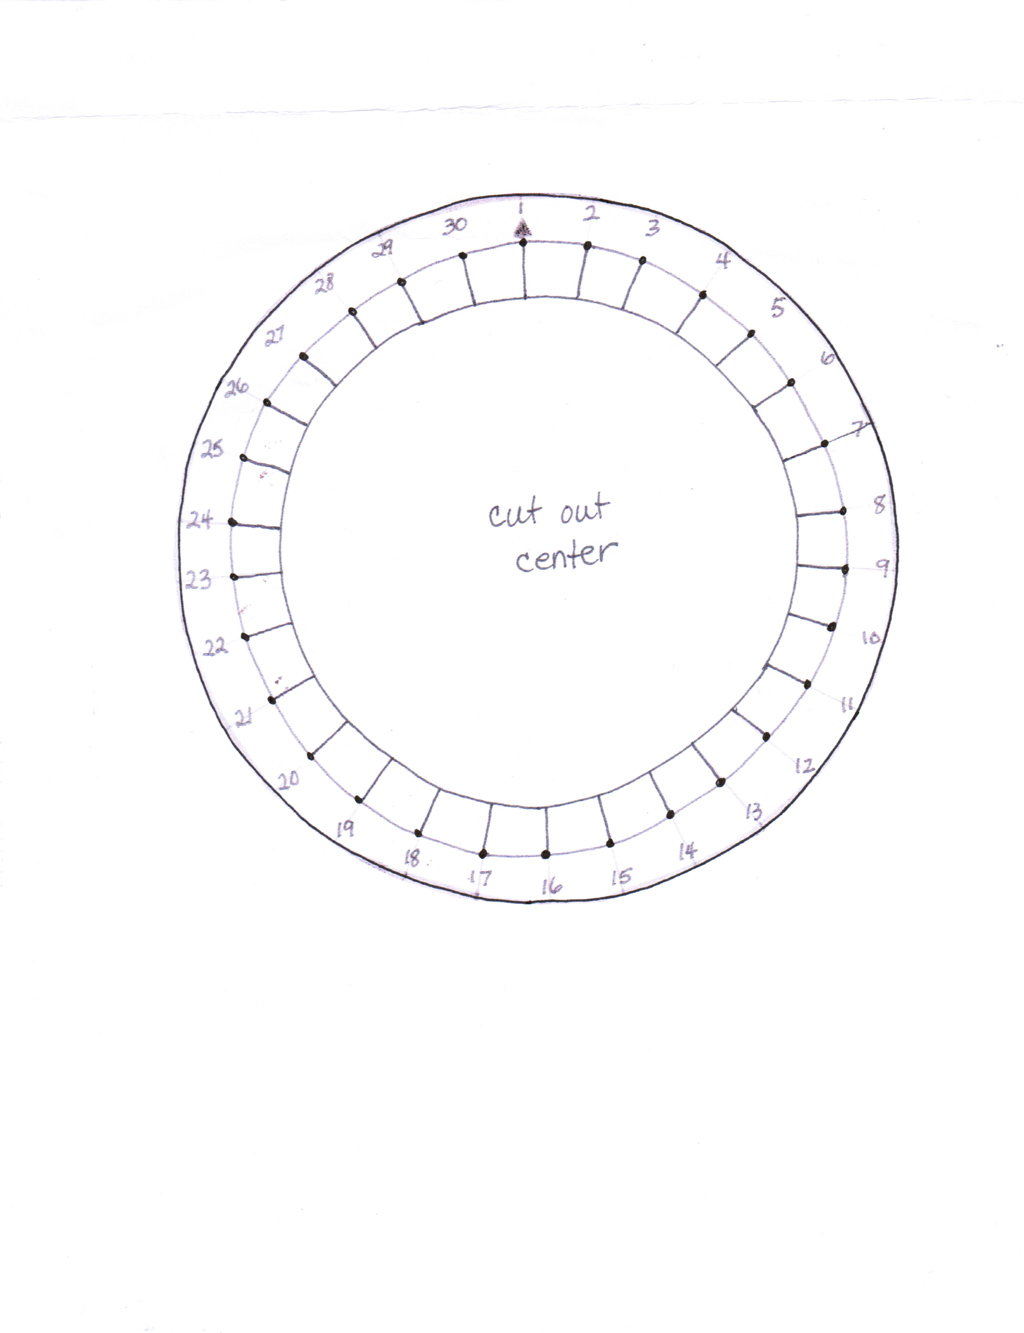
Cut out pattern then cut out center. Position on wood and hold in place with a few pieces of tape.
Hammer nails into each dot under number on pattern leaving about ½” above wood and making sure not to go through to back. Hammer in all nails.
Each nail has a number with it. Tie a knot of floss around nail #1. Follow pattern sequence, wrapping floss twice around each nail so it won’t slip. When you are back at beginning wrap twice around nail then cut floss leaving about a 3” tail. Tie ends in a knot to hold in place. This technique is the same for each round.