|
Hands on Crafts For Kids is the resource for kids craft projects and instructions for kids 6-12 and parents, teachers and other group leaders. It includes school and curriculum based projects, multi cultural projects, and every day, holiday and seasonal ideas. |
| 1702-4 | Print | Close [X] |
Clay Lizard
|
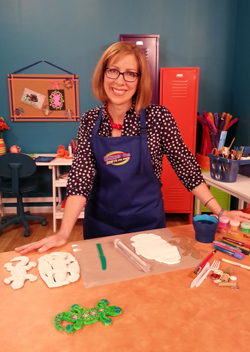 |
Always cover your work surface with a mat or some type of protective covering like wax paper or plastic. Age Range: 7 to 12 Grade Range: 2 to 6 Skill Level: Moderate to Advanced Appropriate for: Supports Subject Area(s) of: Time needed for project:
Materials Needed:
Tools:
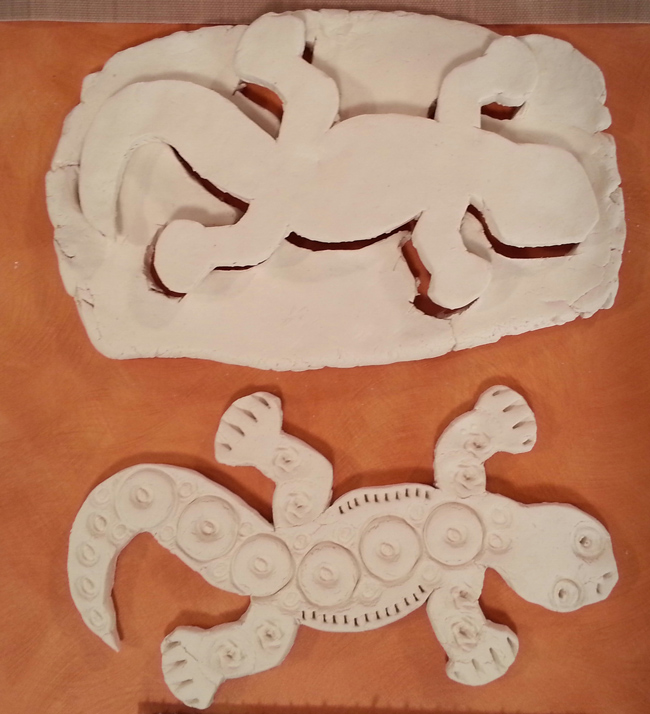
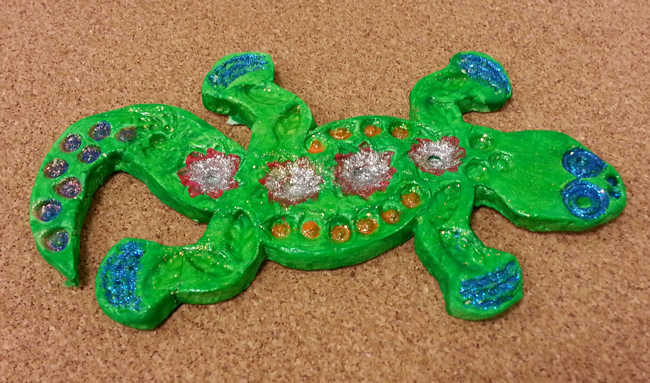
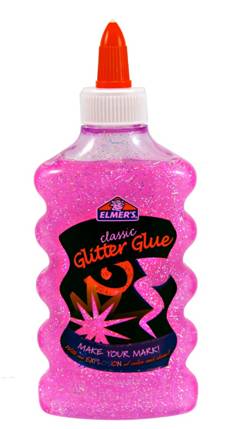
Pattern: (right click and choose "Save As" to download to your system) Directions: STEP 2: Place template over clay and cut out shape with plastic knife. Smooth any rough edges with your fingers. NOTE: make sure to store remaining clay in an air-tight container or zipper storage bag. STEP 3: Create texture and pattern in clay Lizard with Found Objects. Let clay air dry overnight. NOTE: Flip clay lizard over several times during drying process to retain shape. STEP 4: Paint Lizard with assorted Classic Glitter Glue and Acrylic Paints, let dry. STEP 5: Use Glitter Glue to create a sealing topcoat for the Lizard. Apply to the Lizard with a paint brush, let dry. NOTE: This will seal the Lizard. Use your Lizard as a Paper Weight or attach Magnets to the back to display on the refrigerator! For more information visit:
|

Our Partners:
|

E-mail questions about Hands On Crafts for Kids to info@craftsforkids.com |