www.craftsforkids.com

Hands on Crafts For Kids is the resource for kids craft projects and instructions for kids 6-12 and parents, teachers and other group leaders. It includes school and curriculum based projects,  multi cultural projects, and every day, holiday and seasonal ideas.

It is  the online home of the public television program Hands On Crafts for Kids.

1704-2 Print | Close [X]

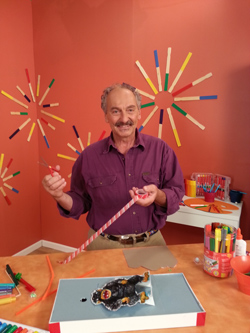
Franz Spohn shows how to design your own miniature golf course.


When you see the “helping hand” symbol on a project, it means you may need adult supervision to do the project.

Always cover your work surface with a mat or some type of protective covering like wax paper or plastic.


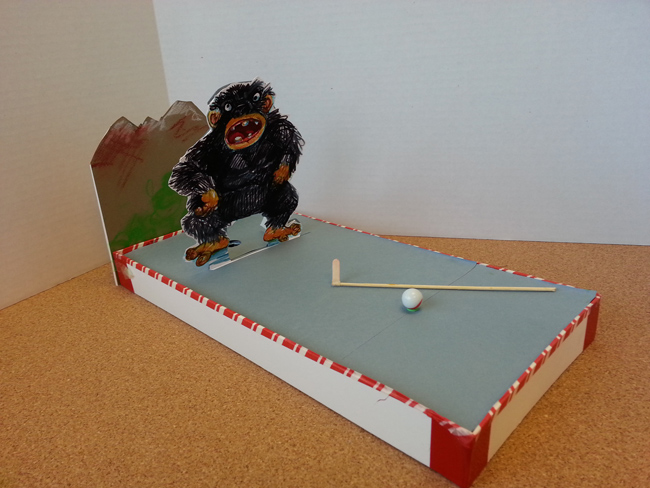
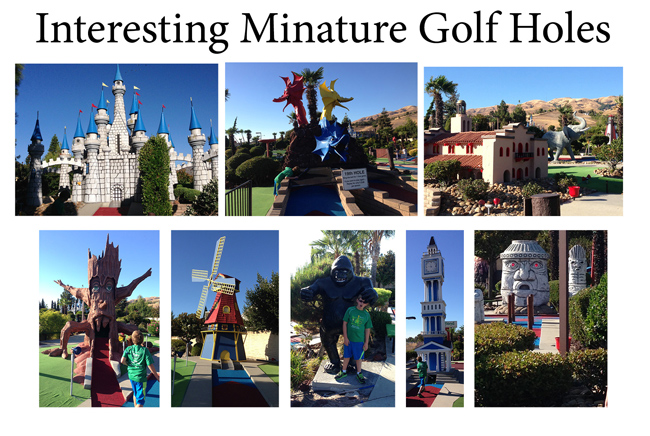
Age Range: 7 to 12

Grade Range: 2 to 6

Skill Level: Moderate to Advanced

Appropriate for:
Every Day and Rainy Days

Supports Subject Area(s) of:
Language Arts – e.g. step by step instructions
Mathematics - measuring
Visual Arts

Approximate time needed for project:
3 hours

Playtime:  Miniature golf is a very popular play activity. There are courses that may challenge our putting skills but for just plain fun, the courses that have holes that are enhanced by visual themes are the best! Make your own miniature golf course, one hole at a time for those instances when you can’t be outside…use your imagination to make your course challenging and visually exciting.

To Create Your Own Miniature Golf Course Hole

Materials Needed:

Faber-Castell Eco pencils
Faber-Castell Connector pens
Faber-Castell Gel sticks
Canson®: Artist Board, Mi-Tientes or Colorline paper
Cardboard
Glue or glue dots
Tape
Marble
Pencil eraser
Coffee stirrer and skewer for golf club
Decorative tape
Scissors
Craft knife (adult supervision or help in cutting boards)
Assorted found objects for bunkers, ramps, cup hole, etc.

Directions:
Carefully measure and cut artist board to create base for your golf hole. Determine position of hole and cut in top of base. Tape and glue together pieces to construct “platform and re-enforce inside with cardboard from shipping boxes. Create extra features out of scrap pieces of artist board and draw/embellish. Use decorative tape to help strengthen structure as well as add visual interest. Measure and glue color paper to base; cut hole out to correspond to hole in artist board. Glue additional elements such as standing gorillas, windmills, etc. in place. Additional side pieces depicting jungles, pyramids, or other props may be taped or glued to the sides to add additional visuals to your theme. Cut an add-on pencil eraser to form a tee that can be glued down to the base. A putter can be made from cutting the end of a wooden coffee stirrer and gluing onto a trimmed wooden skewer. Glue the bottom of a plastic capsule to form the hole cup. Glue any other objects/pieces to form hazards or bunkers; these can make the hole more challenging. You can also make your own score cards that can enhance the theme of your course. Make one or 18 holes and let the tournament begin!


Our Partners:


www.fabercastell.com
www.cansonstudio.com