|
Age Range: 7 to 12
Grade Range: 2 to 6
Skill Level: Moderate to Advanced
Appropriate for:
Parties, Home Décor, Every Day and Rainy Day Activities
Supports Subject Area(s) of:
Language Arts – e.g. step by step instructions
Mathematics - measuring
Visual Arts
Time needed for project:
1 hour, plus several hours drying time
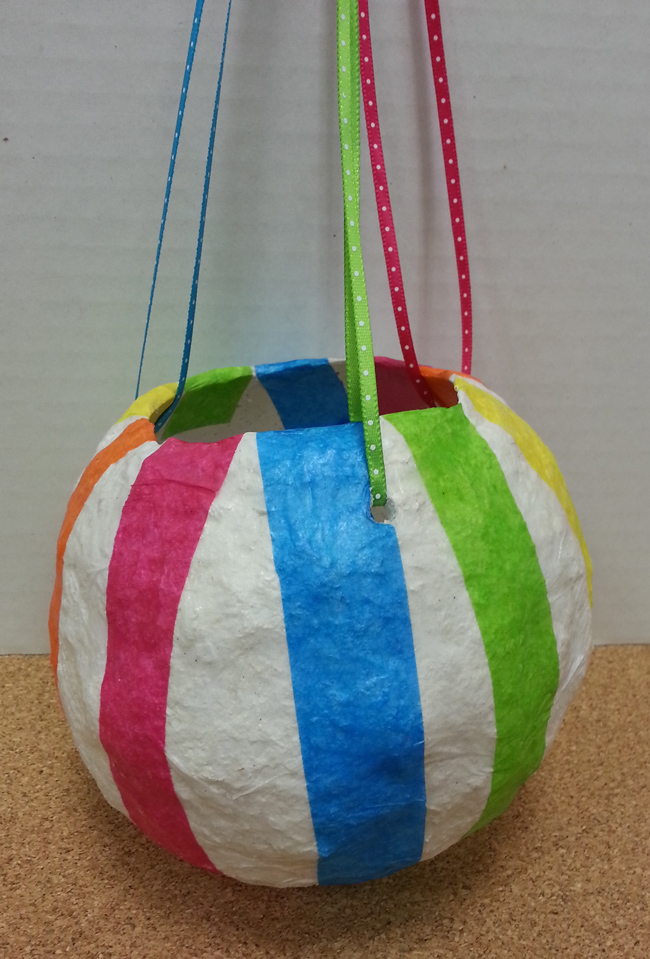
COLORFUL PIÑATA BOWL
by Cheryl Ball
Materials Needed:
ACTIVA® CelluClay® – white instant papier maché
Elmer® Glue-All®
Tissue paper – white, turquoise, lime, hot pink, orange, yellow
Balloons
1” wide paint brush
Scissors
Plastic glasses
Zip lock plastic bag
Foam plate
Ribbon – 24”, narrow pink, lime, turquoise
Sharp knife or scissors
Paper towels
Chopstick
Ribbon
Small ring (optional)
Directions:
- Blow up balloon to about 7-8”.
- Pour maché into baggie. Following package instructions pour in warm water, close bag letting out all air, then massage bag mixing together. More water or maché can be added for right consistency.
- Pull out a handful from bag then use fingers to flatten. Press onto balloon then spread in a thin even layer making sure no balloon shows through. Wetting hand will make it easier to smooth. Add more maché to smooth edges together then continue to cover entire balloon to about 4” from knot smoothing edge of maché into an even line. Place balloon end into plastic glass as holder. Check after a few hours, if dry enough on the outside, pop the balloon and carefully peel from inside. Let thoroughly dry.
- To create holes for hangers, poke tip of sharp knife or scissors about 1” down from top edge then turn creating a small hole. Repeat step creating two more evenly spaced holes.
- Use scissors to cut 2”x 2” squares of white tissue. Squeeze glue onto foam plate. Wet brush then dry on paper towel. Dip brush into glue then brush a even coating on a section of bowl. Tap brush onto square of tissue, press onto glue then brush another coat over top. Add more glue and tissue to cover entire outside. To finish off top edge, place tissue along edge, apply glue to inside surface then fold over and brush in place. Turn upside down over glass or jar to dry.
- Cut colored tissue into 1” strips. Brush a stripe of glue on outside edge, press strip into glue leaving about 1” hanging over edge. Continue gluing strip in place to other side making sure it is opposite the first. Apply glue inside then press tail to inside. Repeat step with remaining colors referring to photo for placement. Set over jar to dry.
- Use chopstick to punch through tissue over holes then turn to smooth edges.
- Cut ribbon into 24” lengths, thread from outside to inside. Pull up ends of ribbons then tie a knot creating a hanger.
- Bowl – Follow same steps using 1” squares of colored tissue for design.
|