|
Hands on Crafts For Kids is the resource for kids craft projects and instructions for kids 6-12 and parents, teachers and other group leaders. It includes school and curriculum based projects, multi cultural projects, and every day, holiday and seasonal ideas. |
| 1710-1 | Print | Close [X] |
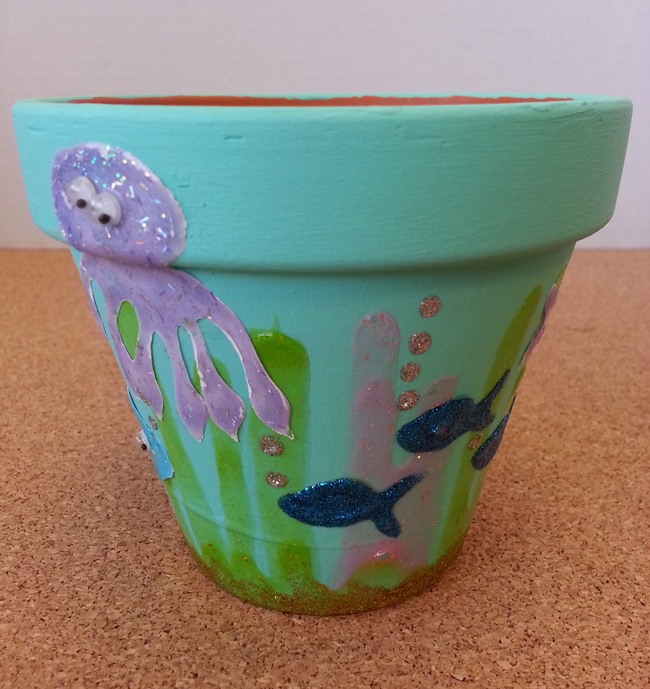
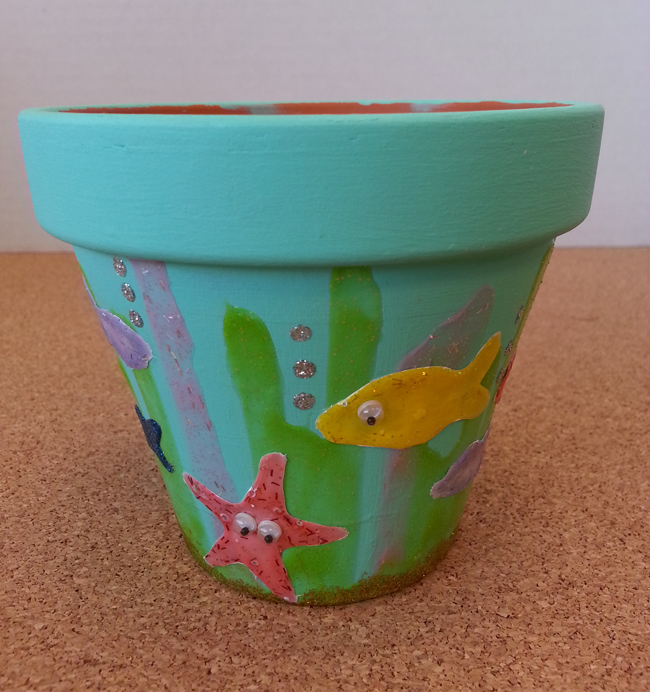
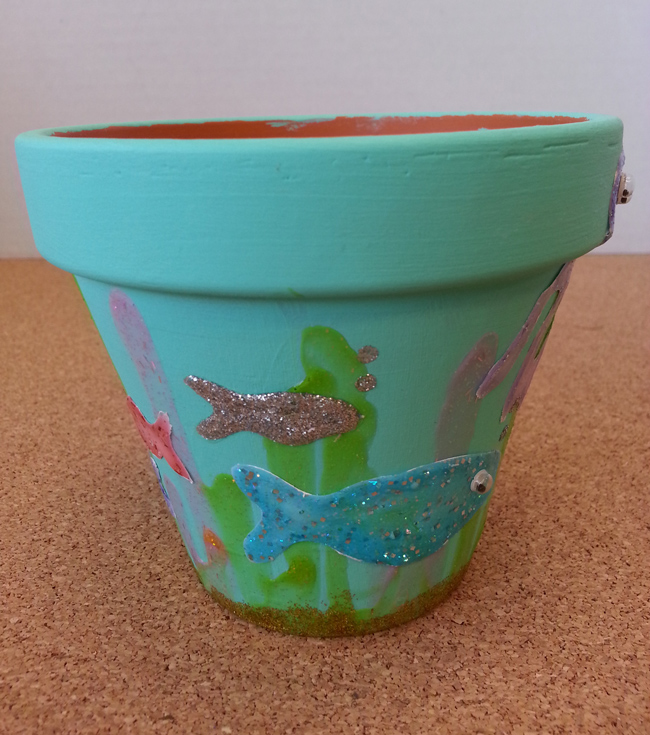
Under the Sea Clay Pot
|
 |
Always cover your work surface with a mat or some type of protective covering like wax paper or plastic. Grade Range: 2 to 6 Skill Level: Moderate Appropriate for: Supports Subject Area(s) of: Time needed for project;
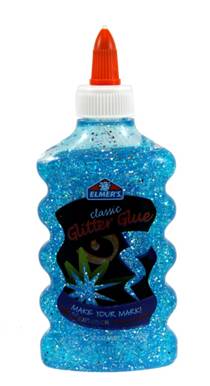
UNDER THE SEA CLAY POT Materials Needed:
Tools:
Pattern:(right click here and choose "Save As" to download to your system) Directions: STEP 2: Turn pot upside down on non-stick craft sheet and apply dollops of Green and Pink Classic Glitter Glue around bottom edge of pot. Allow the Glitter Glue to drip down the sides of the pot. Experiment with quantities of Glitter Glue and layering to create deeper colors. Allow to dry several hours or overnight. STEP 3: Place Sea Creature template under clear page protector and draw shapes with different colors of Classic Glitter Glue and Glitter Glue Pens. Allow to dry several hours or overnight. (You can also find sea creature pictures from a coloring book or just free hand one of your own). STEP 4: Peal Sea Creature shapes off non-stick craft sheet and turn over. Paint backside of each shape with white paint, let dry. NOTE: This will make the Glitter Glue colors “pop” against the background. STEP 5: Turn pot right side up and attach Sea Creatures with glue, let dry. Apply “air bubbles” with Silver Glitter Glue Pen, let dry. On a paper plate mix one part white glue and one part water to create a sealing topcoat for the pot. Apply to pot with a paint brush, let dry. NOTE: This will seal the pot, so it can be used outside. STEP 6: Once topcoat is dry, attach mini wiggle eyes to larger sea creatures with glue, let dry. For more information visit
|

Our Partners:
|

E-mail questions about Hands On Crafts for Kids to info@craftsforkids.com |