Age Range: 6 to 12
Grade Range: 2 to 6
Skill Level: Moderate to Advanced
Appropriate for:
Home Décor, Gifts, Every Day and Rainy Day Activities
Supports Subject Area(s) of:
Language Arts – e.g. step by step instructions
Mathematics - measuring
Visual Arts
Time needed for project:
1 ½ hours, plus lots of time for dye and glue to dry

Sand and Colored Rice Mosaic
By Heather Mann
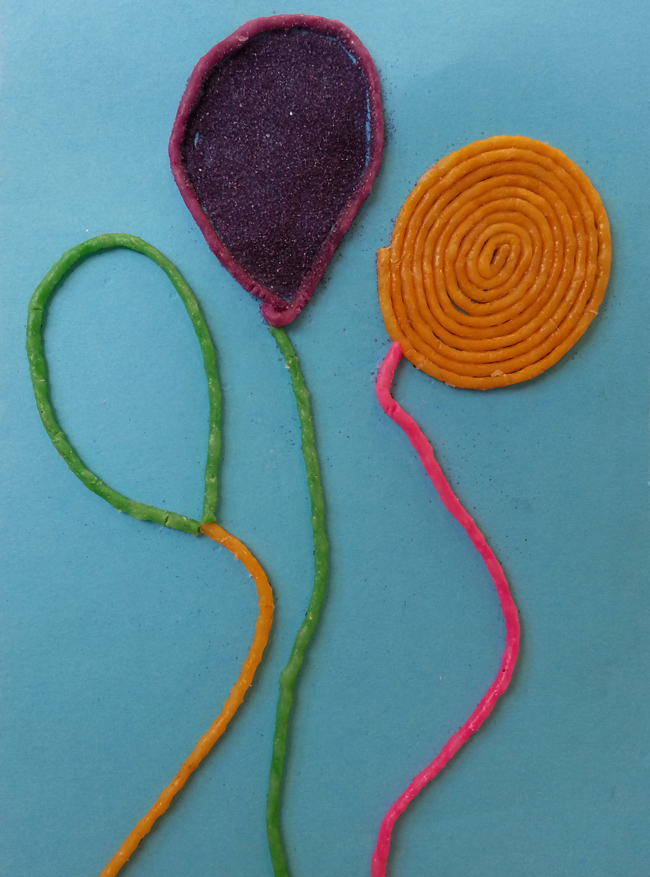
SAND MOSAIC Materials and Directions:
Wikki Stix®
Elmer’s® Glue-All®
Brush
Cardstock
Pattern: use ours, one from a coloring book or draw your own design – just make it simple
Black felt tip marker
ACTIVA® Scenic Sand™
Pattern:(right click here and choose "Save As" to download to your system)
- If using our pattern, place it on top of your cardstock, then, using the marker, place dots on the dots to transfer the pattern.
- Cover all the lines of your design with the Wikki Stix. Make sure there are no gaps in areas you will be putting the sand.
- Put glue into the areas where the sand goes and spread it around with the brush.
- Add the sand to the glued surface and shake off excess onto a separate piece of paper to be returned to the sand container.
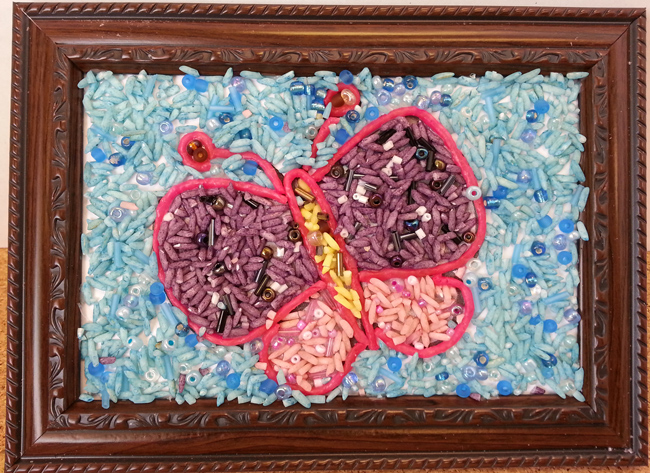
RICE MOSAIC Materials and Supplies:
Wikki Stix®
Elmer’s® Glue-All®
Brush
Pattern: use ours, one from a coloring book or draw your own design – just make it simple
FloraCraft Foam: sheet
White rice (uncooked)
Seed beads (optional)
Zip top plastic bag(s)
Rit ColorPerfect (color(s) of your choice)
Foil tray(s)
Measuring spoons
Pattern:(right click here and choose "Save As" to download to your system)
- Choose a pattern and determine how many colors of rice you will need for your design.
- The day before, place rice in a zip top bag and add about 2 teaspoons of dye to the bag. Close the bag and work the dye into the rice to the desired color. Repeat for as many colors as you need. Spread wet rice on the foil tray and let dry overnight.
- Add seed beads to your rice if desired.
- Glue pattern to a piece of Styrofoam sheet.
- Cover all the lines of your design with the Wikki Stix. Make sure there are no gaps in areas you will be putting the sand.
- Put a good amount of glue into the areas where the rice goes and spread it around with the brush.
- Add the rice to the glued surface inside the Wikki Stix.
- Continue until all the areas are covered with rice.
For more information visit:
www.dollarstorecrafts.com
|