www.craftsforkids.com

Hands on Crafts For Kids is the resource for kids craft projects and instructions for kids 6-12 and parents, teachers and other group leaders. It includes school and curriculum based projects,  multi cultural projects, and every day, holiday and seasonal ideas.

It is  the online home of the public television program Hands On Crafts for Kids.

1711-4 Print | Close [X]

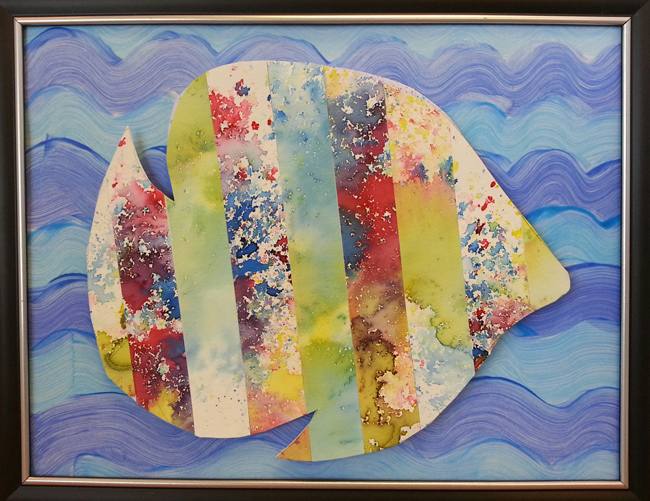
Spattered Fish Art


Always cover your work surface with a mat or some type of protective covering like wax paper or plastic.


Age Range: 7 to 12

Grade Range: 2 to 6

Skill Level: Advanced

Appropriate for:
Every Day and Rainy Day Activities

Supports Subject Area(s) of:
Language Arts – e.g. step by step instructions
Mathematics – measuring
Science
Visual Arts

Time needed for project:


SPATTERED FISH ART
by: Cheryl Ball

Materials Needed:
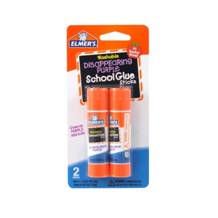
Elmer’s® Glue-All®
Elmer’s ®Foam Dots or Tape
Sargent Art® Tempera Paint: Turquoise, Royal blue, Green, Purple
Mix Media art paper
Document frame
Foam brush
Scissors
Pencil
Chopstick
Old toothbrush
Foam plate
Ruler
Newspaper, plastic or craft mat to protect your work surface
Apron to protect clothing

Pattern: (right click here and choose "Save As" to download to your system)

Directions:

  1. Cover work surface with newspaper. Place a piece of cardstock in center. 
  2. Squeeze a puddle of Turquoise paint onto plate.  Tap the bristles of toothbrush into paint and hold brush over paper. 
  3. Starting at back slide the chopstick along the bristles of brush creating a spatter look on paper.  Continue to add paint and move brush over entire sheet till desired look.  Set aside to dry. Continue with remaining colors on separate paper.  Let dry.
  4. Squeeze Turquoise and Royal Blue onto plate.  Place cardstock on newspaper.  Dip into turquoise paint then paint a wavy line along top edge of paper as shown.  Dip brush into royal blue then paint wavy line next to first as shown.  Repeat on remainder of paper and let dry.
  5. Use pencil and ruler to trace 1”wide strips on back of spattered paper then cut out.  Trace and cut about 2-3 from each color.
  6. Cut out fish pattern.  Use pencil to trace onto white cardstock.  Line up strips in desired pattern along fish pattern then cut off excess leaving about an inch or so beyond pattern line. 
  7. Apply a thin bead of glue to back of strip then smooth to edges with finger.  Press back into place into pattern.  Continue with remainder of strips.  Let dry. 
  8. Position fish pattern over strips, trace again then cut out.
  9. Carefully remove glass from frame.  Trim background paper to fit then insert into frame adding frame backing. 
  10. Add Foam Dots to back of fish placing several along each edge and center.  Remove paper backing from each, position into place than press to secure.


Our Partners:


www.elmers.com

www.sargentart.com
www.cansonstudio.com