www.craftsforkids.com

Hands on Crafts For Kids is the resource for kids craft projects and instructions for kids 6-12 and parents, teachers and other group leaders. It includes school and curriculum based projects,  multi cultural projects, and every day, holiday and seasonal ideas.

It is  the online home of the public television program Hands On Crafts for Kids.

1801-2 Print | Close [X]
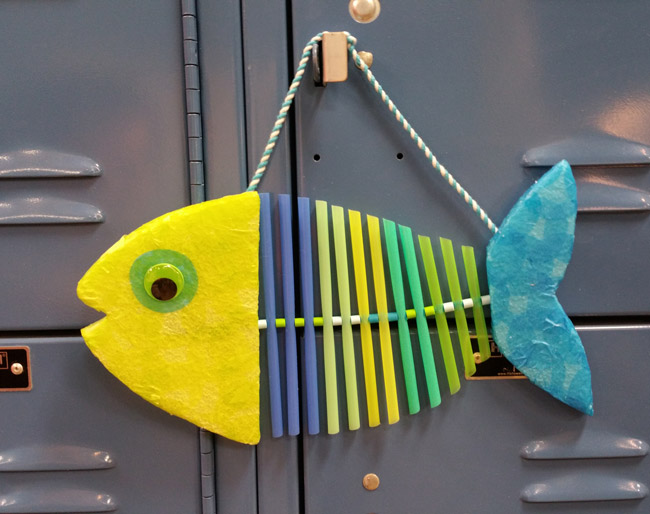
Straw Fish

Watch the video for this project online at: https://youtu.be/0qM95OktvRo


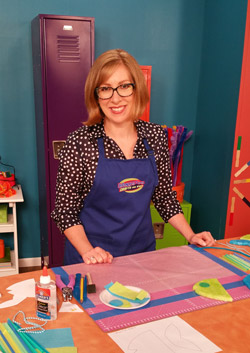
Hosts:
Katie Hacker

STRAW FISH
Designed by Cheryl Ball

Always cover your work surface with a mat or some type of protective covering like wax paper or plastic.
                                                    
Always use care when using tools or a heat source. Be careful and safe!


Age Range: 7 to 12

Grade Range: 2 to 6

Skill Level: Moderate

Appropriate for These Special Events:
Every Day and Rainy Days

Supports Subject Area(s) of:
Language Arts – e.g. step by step instructions
Mathematics - measuring
Visual Arts

Time needed for project:
2 hours plus drying time

Materials needed:
Elmer’s® Clear School Glue
FloraCraft® Styrofoam™ Brand Foam – 1/2” sheet
Tissue paper – lime, turquoise
Plastic straws - 12
Pipe cleaner – turquoise
Wiggle eye – 1” lime green
Brush
Foam plate
Scissors
Hole punch – 1/8”
Serrated knife
Twine – 12”
Pony or cylindrical beads – colors to match
Skewer
Pencil

Directions:

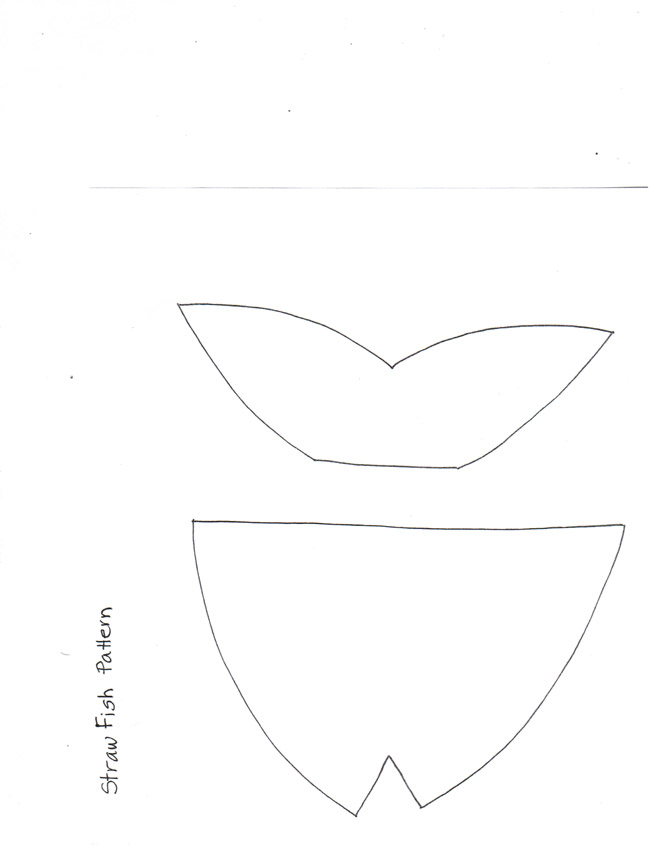
  1. Cut pattern from pattern sheet.   Use pencil to trace onto foam sheet then carefully cut out with serrated knife. 
  2. Cut tissue into 1” strips then cut circles from strips (they don’t need to be perfect). Squeeze a puddle of glue onto foam plate.  Use brush to apply an even coat onto a section of fish.  Tap brush onto a circle of lime tissue then place on glue.  Brush another thin coat over top.  Repeat step with another section of tissue slightly overlapping the first.  Keep applying tissue to sections letting dry as need till both sides are done.  Cover tail section with turquoise tissue. Let dry.
  3. Add a single turquoise circle where shown on head.
  4. Cut away bending section from straws.  Use hole punch to create hole in center of each straw.  Line up straws in desired color order.
  5. To create body, insert bead then straw onto pipe cleaner repeating step with all straws. Press together.  Cut ends of pipe cleaner to about 2”. Use skewer to create hole in center on side of fish head and tail.  Add a drop of glue to ends of pipe cleaner then insert into holes.
  6. Use scissors to carefully cut straws at an angle from head to tail as shown.
  7. Glue eye into place.
  8. To create a hanger, tie a knot in center of twine.  Determine length then trim ends leaving about 2” overlap to back.  Glue in place to back.


Our Partners:


www.elmers.com
www.makeitfuncrafts.com