Age Range: 7 to 12
Grade Range: 2 to 6
Skill Level: Moderate
Appropriate for These Special Events:
Fall, Every Day and Rainy Days
Supports Subject Area(s) of:
Language Arts – e.g. step by step instructions
Mathematics - measuring
Visual Arts
Time needed for project:
1 to 1½ hours plus drying time
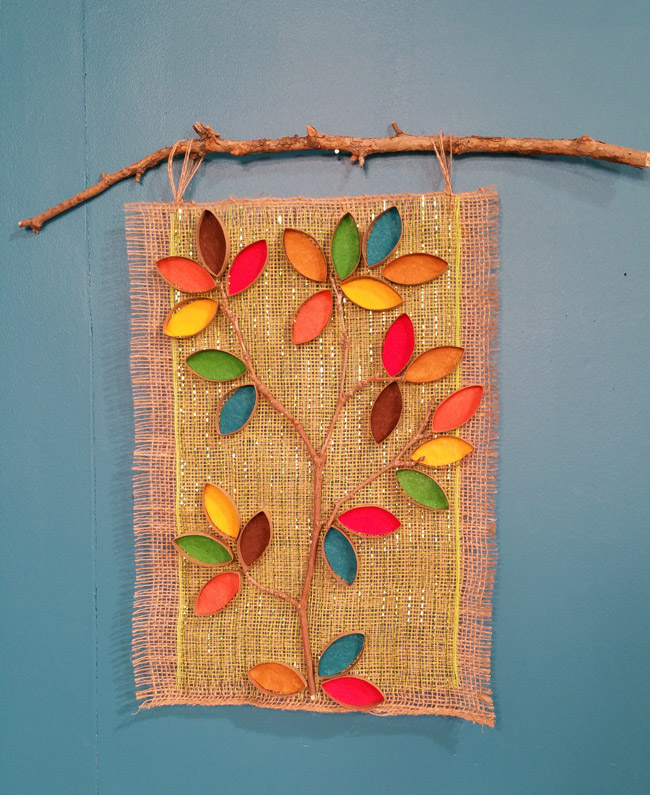
FALL TREE BANNER
Designed by Cheryl Ball
Materials needed:
FloraCraft® - Natural Burlap – 17” wide
FloraCraft® - Design It® SimpleStyle® - Decorative Mesh – lime
Elmer’s® Craft Bond Tacky Glue
The Kunin™ Group Eco-fi® Classicfelt™ sheets – teal, orange, brown, green, red, golden yellow

Basic Supplies:
TP tubes – approximately 5
Real twigs
Large piece of cardboard
Freezer paper
Tape
Scissors
Pencil
Ruler
Sewing pins
Foil or scrap cardboard
Directions:
- Cover cardboard with freezer paper, shiny side up, taping to the back.
- Measure and cut 13” of burlap. Place on covered cardboard. To fray sides, use scissors to carefully snip through selvage then pull off about 5 strings from edge. Repeat with other side. Set strings aside to be used later. Straighten banner and hold in place with pins along sides and top.
- Measure and cut 18” of Lime mesh. Fray ends by pulling out about 5 strings.
- Center mesh over burlap holding in place with pins, trimming mesh as needed to match burlap. Working in sections at a time, apply a thin bead of glue to back along edges, pressing onto burlap and holding with pins till dry then remove pins.
- Use twigs to create tree as shown, cutting as needed. Place pieces with flattest side to banner. Apply a thin bead of back of twig where it touches banner then press in place. Hold in place with angled pins pushed into cardboard as needed to hold till dry.
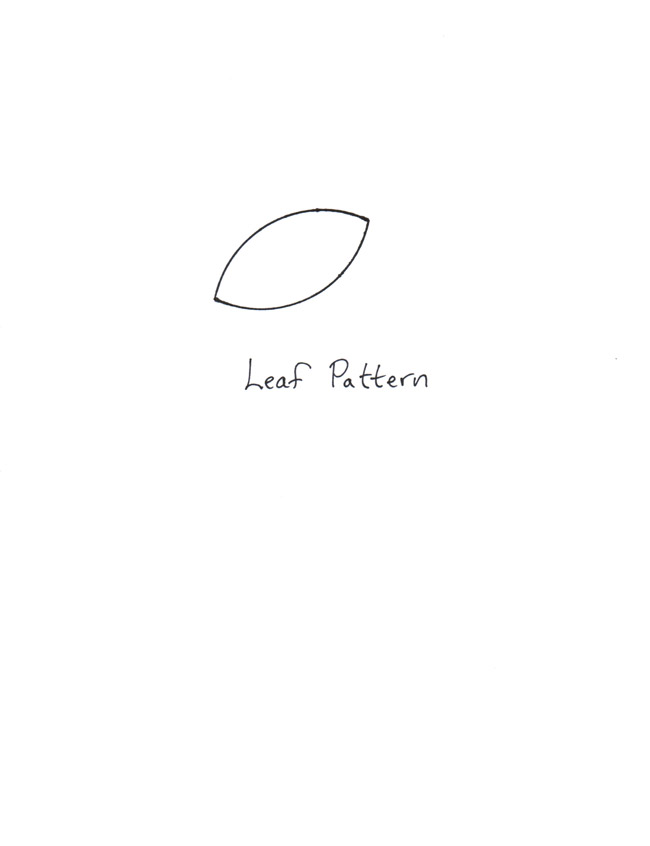
- Cut ½” strips from the TP tubes and pinch the ends to create a pointed oval. Trace the inside of the tube on the felt or use the pattern provided to create approximately 5 leaves of each color.
- Cut out leaves and glue around twigs. Apply a thin bead of glue around edge of tube and press onto felt leaves. Continue with all leaves.
- To create hanger, cut the five burlap strands in half, line up ends and tie knot. Glue knots to back of banner slightly in from edge. Use longer stick for holder.
|