|
Hands on Crafts For Kids is the resource for kids craft projects and instructions for kids 6-12 and parents, teachers and other group leaders. It includes school and curriculum based projects, multi cultural projects, and every day, holiday and seasonal ideas. |
| 1811-1 | Print | Close [X] |
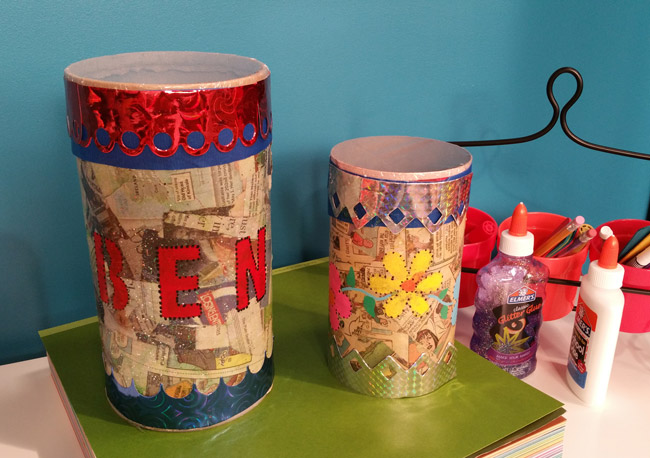
Recycled Can Drum
|
 Host: Jenny Barnett Rohrs |
Age Range: 7 to 12 Grade Range: 2 to 6 Skill Level: Easy Appropriate for These Special Events: Supports Subject Area(s) of: Time needed for project:
Recycled Can Drum Materials needed:
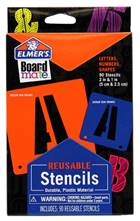
Directions: 1.Using sharp scissors, remove the bottom from the oatmeal can. Discard the lid. Draw a line 1” from top (smooth edge.) Rip paper into 1 inch pieces. Decoupage newspaper onto can UNDER line using glitter glue and foam brush. LET DRY. 2. Use painter’s tape to secure stencils. Use pencil to draw outlines then remove stencils. Fill in using Painters Pens and let dry. 3. Using scissors cut a piece of plastic wrap approximately 2” larger than the edge of the drum. Secure wrap onto top of can with a rubber band. Wrap around sides with painter’s tape, securing plastic wrap & covering the edges. Use hairdryer to shrink film. 4. Glue on borders to top and bottom- add more paint or decorations as desired. For more information visit www.CraftTestDummies.com
|


Our Partners:
|

E-mail questions about Hands On Crafts for Kids to info@craftsforkids.com |