Age Range: 7 to 12
Grade Range: 2 to 6
Skill Level: Moderate
Appropriate for These Special Events:
Every Day and Rainy Days
Supports Subject Area(s) of:
Language Arts – e.g. step by step instructions
Mathematics - measuring
Visual Arts
Time needed for project:
1½ hours plus drying time
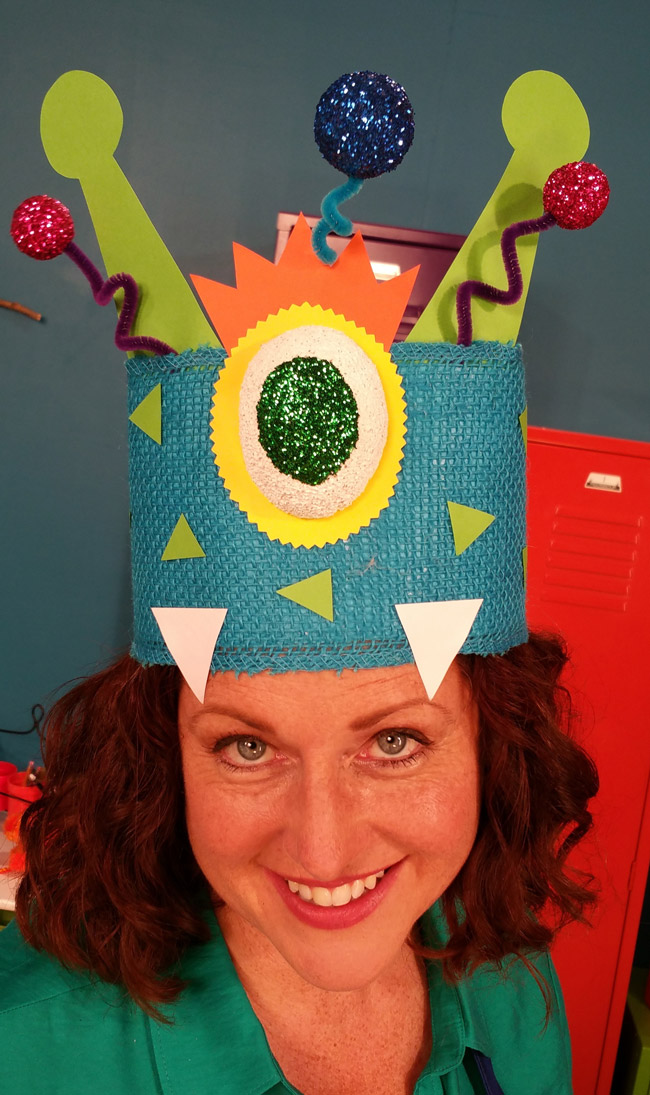
MONSTER HEADBAND
Designed by Cheryl Ball
Materials needed:
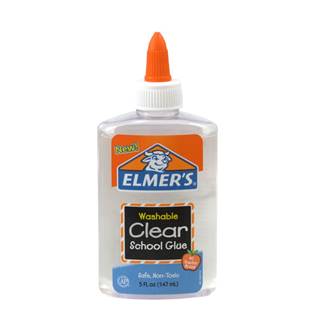
Elmer’s® Clear School Glue
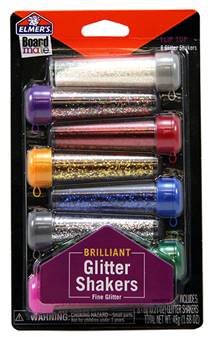
Elmer’s ® Glitter Shakers
FloralCraft® - Design It:® SimpleStyle® Turquoise Burlap – 5” wide
FloralCraft® STYROFOAM® Brand Foam - 3” egg or ball
FloralCraft® STYROFOAM® Brand Foam - balls – 1 ½”, (2) 1”
Basic Supplies:
Cardstock – lime, orange, yellow, turquoise, white
Acrylic paint – white
Brush
Chenille stems – purple, turquoise
Pencil
Scissors
Pinking shears – optional
Hook and loop tape – 5”
Paper plate
Scratch paper
Craft stick
Clothes pins
Serrated plastic knife
Scratch paper
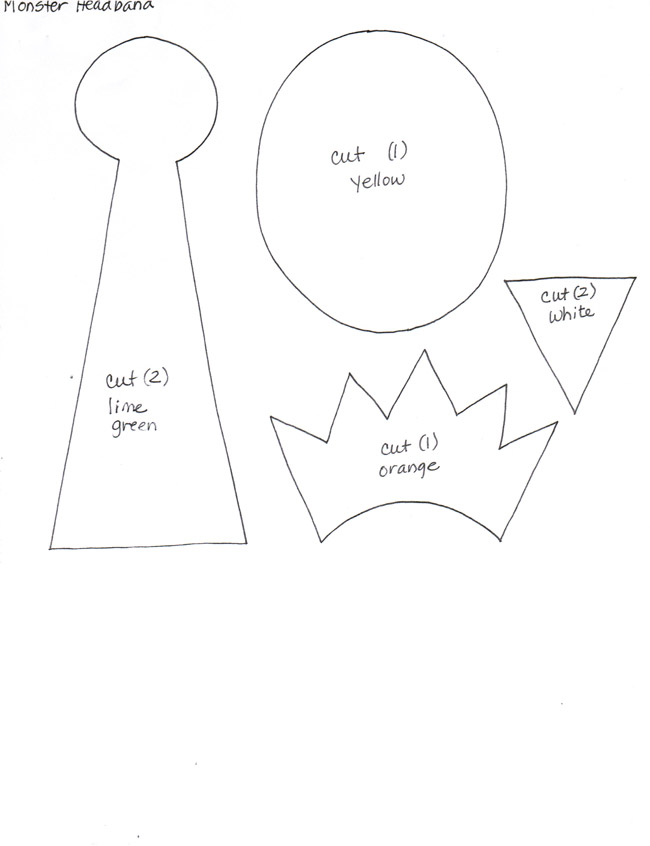
Patterns
Directions:
- Use serrated knife to carefully cut 3” foam ball in half lengthwise.
- Squeeze a puddle of white paint onto plate. For ease of holding, insert craft stick into cut side of egg. Use brush to paint an even coat of paint onto foam. Let dry.
- Insert two toothpicks into each foam ball. Squeeze a puddle of glue onto plate. Place scratch paper onto work surface. Use brush to apply an even coat of glue to large ball. Immediately sprinkle blue glitter over entire ball then shake off excess glitter onto paper - it can be used again. Repeat steps with smaller balls and magenta glitter. Let dry.
- To create eye, apply an oval of glue to top of egg then sprinkle on green glitter.
- Cut out patterns from pattern sheet then trace onto paper, tracing amount and color indicated on pattern. Pinking shears can be used for eye pattern if desired. Cut a 1” strip of lime then cut at angles to create smaller triangles.
- Fold turquoise paper in half lengthwise and cut. Create a long strip by overlapping ends ¼” and gluing in place.
- Measure around head and add 6” then cut burlap to this measurement. Apply glue to one side of turquoise paper then press down center of burlap strip. Apply glue to burlap ends, fold over and press in place using clothespins to hold in place till dry. Repeat with other end.
- Cut both chenille stems in half. Twist two purple and one turquoise around pencil. Apply a dot of glue to end then insert into hole of glittered balls.
- Glue orange piece to back of yellow then center eye in place. Glue ends of chenille stems to each antennae piece then glue where shown. Add center ball, teeth and triangles.
- Glue one side of hook and loop tape at one end on front then other piece at other end on back, making sure they overlap in back and touch.
|

