|
Age Range: 7 to 12
Grade Range: 2 to 6
Skill Level: Easy
Appropriate for These Special Events:
Every Day and Rainy Days
Supports Subject Areas of:
Social Studies
Language Arts – e.g. step by step instructions
Mathematics - measuring
Visual Arts
Time needed for project:
1 hour plus drying time
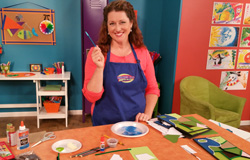
Arial Seaside Patterns
Designed by Lisa Galvin
Materials needed:
Elmer’s®:
- One 11” x 7” x 3/16” piece black-on-black foam board
- Washable clear school glue
- Washable school glue stick, disappearing purple
Activa® Products, Inc.: Scenic Sand™, Bermuda blue
Coffee grounds (unused)
Plain and textured cardstock or construction paper scraps: pink, kraft paper (tan), white, and assorted shades of green
6mm Chenille stems: (2) green, (1) black
White yarn
DecoArt®, Inc. Americana® acrylic paint: Irish moss and primary red
3” piece 1/8” dowel rod
Toothpick
Pencil
Colored pencils
Paper crimper
Small paintbrush
Paper plate
Plastic spoon
Small reclose-able plastic bag
If you have ever flown in an airplane, you know that things look very flat from the air. Geometric shapes of all colors can be found as you fly from one region to another. Many of the shapes and colors depend on the season of the year, the types of crops grown in a given area, and whether your view includes a city, rural area, or a sea-side setting. Use our pattern or create your own view from the sky using paper scraps and other materials found around your home.
DIRECTIONS:
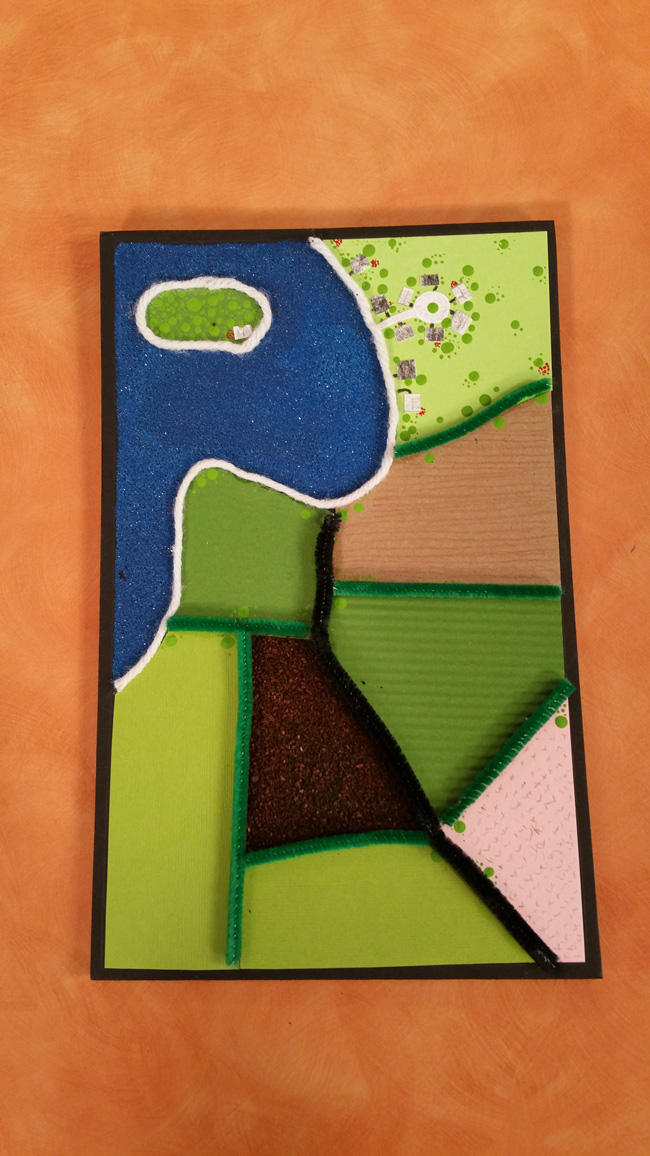
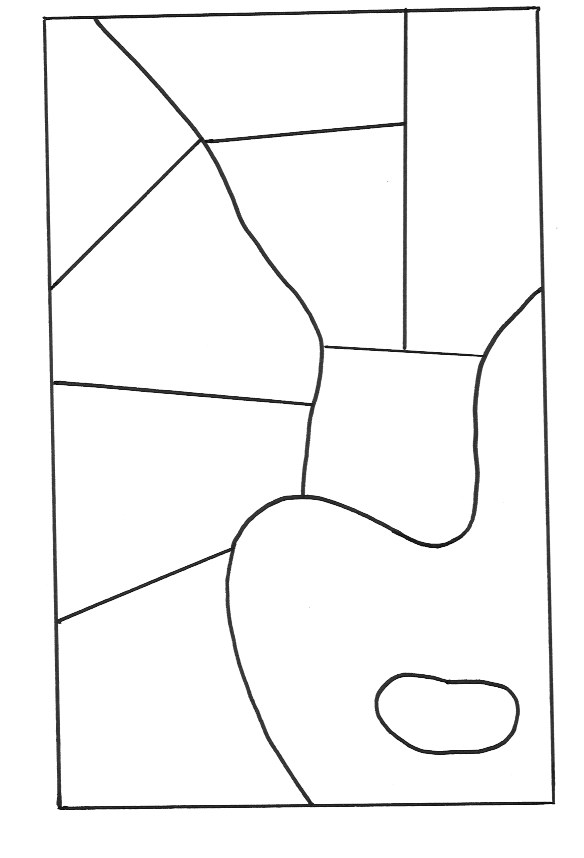
1. Copy our pattern onto white cardstock or create your own pattern. To create your own, cut a 6 ½” x 10 ½” piece of cardstock. Draw lines with pencil and ruler to divide the cardstock in geometric patterns that will resemble fields, waterways, or roads.
2. Center the entire cardstock piece on black foam board and trace outer edge with pencil. This will be the guideline that all other pieces will fit inside. One piece at a time, cut the shapes from pattern you created, place piece in its designated spot on foam board and trace border. Repeat for all pieces until your puzzle-like pattern is completely transferred to foam board. Do not throw pattern pieces away.
3. Water and freshly plowed field. Apply small pea-size puddle of clear school glue to area designated as the ocean or other waterways. Use paintbrush to spread a thin layer of glue over that section only of foam board, then use plastic spoon to sprinkle the area with Bermuda blue sand. Let sit for a few minutes to coat well. Turn foam board upside down over paper plate to shake off excess sand. Place sand in a reclose-able plastic bag for use on other projects.
Use same process to apply coffee grounds to another section to resemble dirt in a freshly plowed field. Set aside to dry.
4. Trace remaining shapes on selected color cardstock or construction paper scraps. To resemble crops planted in rows, use paper crimper to crimp some paper colors prior to tracing shapes. Cut out all shapes and place them in their designated place on foam board, trimming edges as needed to fit. Use glue stick to apply each piece to foam board.
5. Hedgerows of trees, grass or fencing often separate fields. Use scissors to cut green chenille stem pieces to separate land sections and black (or white) for roadways. Apply a thin bead of glue between the paper patterns and press chenille stems onto glue. Let dry. Use white yarn to create sandy beaches where water meets shoreline and around island(s).
6. Personalize (Optional). Houses look like tiny squares or rectangles from the sky, where only the roof top is visible. Add houses or a housing addition by cutting a ¼” strip of white cardstock. Use colored pencils to color the strip in shades of gray, black, or other roof colors. Cut into small pieces no larger than ¼” square. Cut a small popsicle shape to resemble a cul-de-sac drive leading into the neighborhood. Glue cul-de-sac and houses onto board in an area you might like to live.
Add small details that might be seen from above using colored pencils. Light brown “x” shapes (shown on pink construction paper) might resemble tree trunks, use black for driveways on houses and tone-down the white cardstock cul-de-sac with swirled pencil lines resembling gravel or concrete areas.
Pour a small amount of Irish moss green paint on paper plate. Use toothpick and dowel rod to dot some hedgerows with small and large trees. Repeat to add small and large trees around homes, island(s), and other areas. Some trees bloom in vibrant colors in the spring that can be seen from the air. Use toothpick to add color to your view by dotting some areas with primary red paint. Let dry.
|