|
Age Range: 7 to 12
Grade Range: 2 to 6
Skill Level: Easy
Appropriate for These Special Events:
Every Day and Rainy Days
Supports Subject Areas of:
Social Studies
Language Arts – e.g. step by step instructions
Mathematics - measuring
Visual Arts
Time needed for project:
1 hour plus drying time
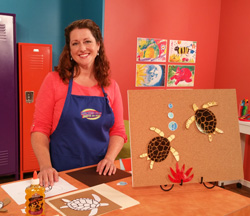
Mosaic Sea Turtle
Designed by Lisa Galvin
Decorate your favorite bulletin board or chalkboard with this adorable sea turtle! Follow directions to create a realistic looking creature, or design your own turtle shell by cutting random shaped paper mosaic tiles. Add optional seaweed and bubbles for a true under-water effect.
Materials:
One 10 inch square light brown tag board
One 8 ½ inch x 11 inch sheet dark brown cardstock
One manila-toned office folder
White cardstock
Two 7mm Wiggle eyes
Elmer’s® Glue Stick
Elmer’s® Repositionable Glue Stick
Elmer’s® Classic Glitter Glue – Yellow
Scissors
Scrap paper
Circle shaped paper punches, sizes: 1/8 inch and ¼ inch
Pencil
Cosmetic sponge or paintbrush
Disposable plastic cup
Patterns
Directions:
1. Copy turtle pattern found on website onto white cardstock and cut out. Trace outer pattern shape onto light brown tag board and cut out. Cut pattern to remove limbs (head, legs and tail) from the shell and set aside for use in step 3.
2. Shell. Use printer to copy shell pattern only onto back side of dark brown paper. Beginning with outer rim of shell where smallest tile pieces are located, cut out tiles; removing the thick black separation lines. Working from tail end to top of shell, place tiles onto the original shell patter to hold placement prior to gluing onto turtle base. Trim excess from tiles as needed to fit in mosaic style. You should be able to see a gap between the dark brown tiles. Repeat for center (larger) tiles until entire shell pattern is filled.
Beginning at tail end of turtle base, apply glue stick to base and begin gluing on tiles as you work toward the top of shell.
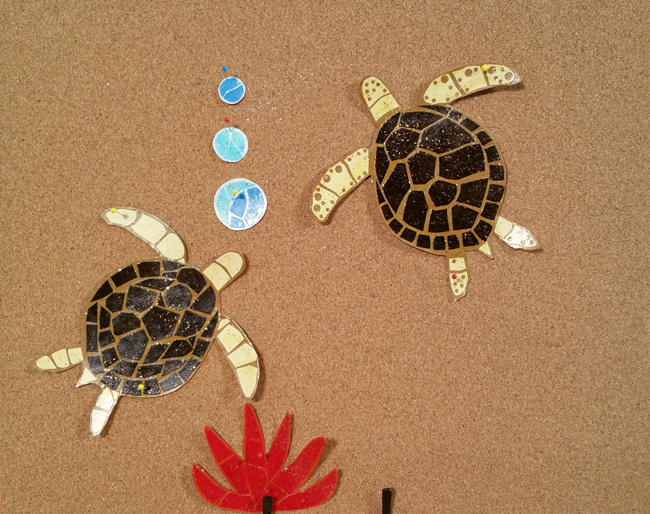
3. Head and limbs. Open manila folder and with pencil, trace limb patterns along outer edge of the paper. Remove patterns and draw a second line approximately 1/16” inside the outer pattern lines. This inner line will be your cut line. Draw lines to mark tile cut lines in each shape. Before cutting, refer to project photo and tile cut lines to punch holes in legs and head using both 1/8” and ¼” hole punches. These holes resemble patterns found on sea turtles’ skin.
4. Beginning with head, cut along inner lines and tile lines, laying each piece in place on turtle base and trimming with scissors as needed to fit tile-like. Gently slide tiles off turtle base, apply glue stick to head and one at a time, replace the tiles, pressing them into the glue to secure. Repeat for remaining limbs. Let dry.
5. Place mosaic turtle onto scrap paper. Use cosmetic sponge (or paintbrush) to apply yellow glitter glue over entire surface. Remove from scrap paper and place turtle on top of upside down disposable plastic cup to dry. Use glitter glue to apply wiggle eyes. Let dry.
6. Glue or pin mosaic turtle to bulletin board or chalk board.
Optional – Bubbles and Seaweed
Materials needed:
Scrap paper
Cardstock: Red, orange, white, light blue, and aqua
Small circle shaped items for tracing (Examples: a quarter, bottle cap, small jar)
Elmer’s® CraftBOND® extra strength, permanent glue stick
Elmer’s® Classic Glitter Glue: Red and Blue
Scissors
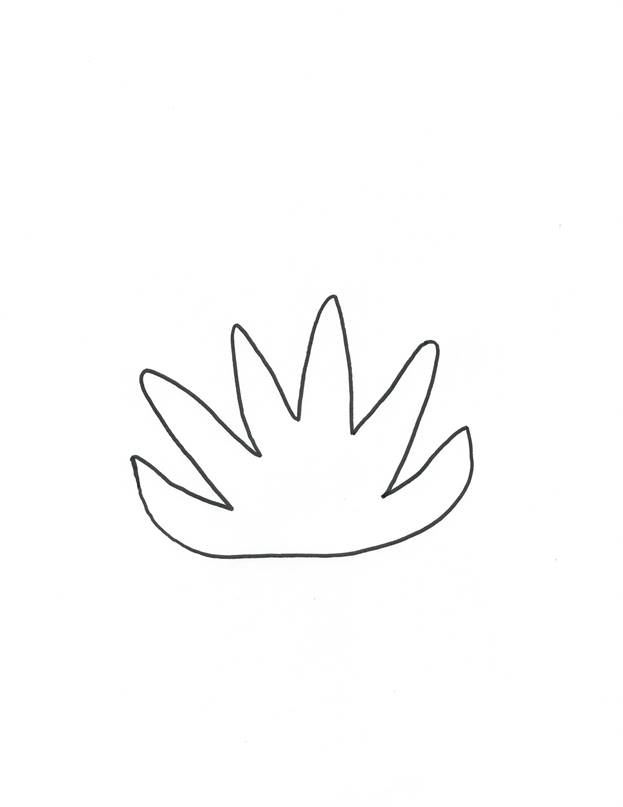
Seaweed
With orange (base) and red (tiles), use same tile techniques found in sea turtle directions to create seaweed using pattern provided here. When finished, use cosmetic sponge to coat with red glitter glue.
Bubbles
Trace circle shapes onto white cardstock, but do not cut out. Trace same shapes onto light blue and aqua paper, cutting slightly smaller than traced lines. Cut the colored paper circles into tiles, and glue tiles to white bubble shape with glue stick. Let dry. Apply blue glue glitter glue over each bubble. Let dry, then cut out along traced lines.


References
For more sea turtle information and a reference image visit: https://www.nwf.org/Wildlife/Wildlife-Library/Amphibians-Reptiles-and-Fish/Sea-Turtles.aspx
|