|
Hands on Crafts For Kids is the resource for kids craft projects and instructions for kids 6-12 and parents, teachers and other group leaders. It includes school and curriculum based projects, multi cultural projects, and every day, holiday and seasonal ideas. |
| 1910-2 | Print | Close [X] |
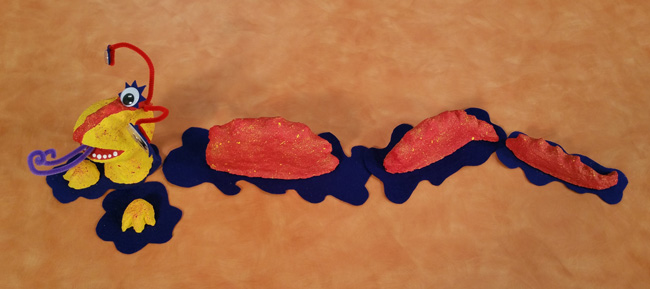
SEA CREATURE Jenny Barnett-Rohrs creates a mysterious sea creature. |
|
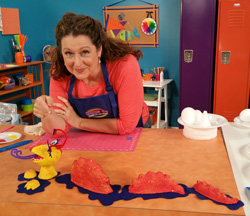
Age Range: 7 to 12 Grade Range: 2 to 6 Skill Level: Moderate Appropriate for These Special Events: Supports Subject Areas of: Time needed for project:
Sea Creature Materials:
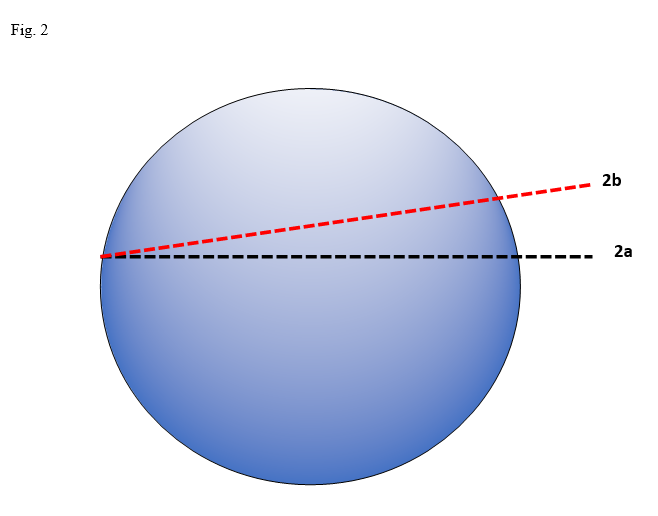
Elmer’s® CraftBond® Tacky Glue Directions: 2. Body and tail. Use ruler to mark a straight line, then cut foam to create two unequal moon shapes. (Fig. 2a). Rub cut edges together to smooth. On smallest moon shape, mark, then cut a wedge for tail (Fig. 2b). With scrap piece of foam, rub outer edges of wedge and both moon shapes to round slightly. Do not round bottom edge. 3. Over a covered work surface, insert 1/3 block of Celluclay® instant papier mache into plastic reclose-able bag and mix as directed by manufacturer using warm water. (Tip: Add drop or two of liquid dish soap to clay to make it less sticky). Place prepared Styrofoam™ shapes onto individual cardboard pieces that are a few inches larger than the foam. Begin patting clay over the foam surface, leaving bottom edges only bare. Add extra clay to top of head, body and tail to form points and curves. Dampen jumbo wooden craft stick or fingers with water to spread and smooth clay. Let dry completely before gently removing from cardboard. 4. Use medium paintbrush to paint head and feet bright yellow. Paint body, tail section, mouth and pointy ridge at top of head and nose with bright red. Use wooden tip end of paint brush to dot white paint around inner rim of mouth for teeth. Let dry. 5. On a newspaper covered surface, splatter-paint body, tail section, and pointy ridge on head with bright yellow. Insert stiff bristled brush into a small puddle of bright yellow paint, then run gloved finger across top, slinging small splatters of paint onto the surface of your dragon. Repeat to apply bright red splatters to head and feet. Let dry. 6. Use pencil to poke a small hole in the clay covered foam head to insert chenille stem ends into. Cut eyelashes from felt and glue wiggle eyes at center. Glue 23mm eye onto head as shown. Bend ends of two red chenille stems into a circle, then glue to back of eyes. Cut stems to desired length to dangle above head, then insert opposite stem end into the prepared holes. Bend lengths of purple chenille stem into a swirl, then insert into a hole at center of dragon’s mouth. Diagrams
|
Our Partners:
|

E-mail questions about Hands On Crafts for Kids to info@craftsforkids.com |