|
Age Range: 7 to 12
Grade Range: 2 to 6
Skill Level: Moderate
Appropriate for These Special Events:
Every Day and Rainy Days
Supports Subject Area(s) of:
Language Arts – e.g. step by step instructions
Visual Arts
Time Needed for Project:
30 minutes plus drying time
Main Materials:
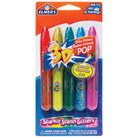
Elmer’s® 3D Sparkles Scents Glitter
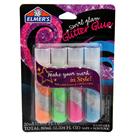
Elmer’s® Swirl Glam Glitter Glue
Elmer’s® 3D Bright Confetti Glitters
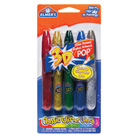
Elmer’s® 3D Classic Glitter Colors
Elmer’s® Craft Bond Tacky Glue
Horizon Beading Wire – Bright
Horizon Foam Sheet – White
Horizon Magnet Buttons
Basic Materials:
Balloons – 7”, 9”, 12” assorted colors
Small sharp scissors
Instructions:
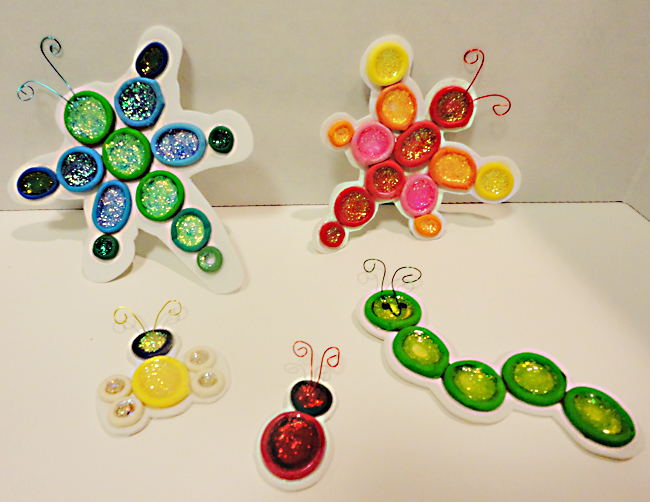
- Cut off balloons about 1” down from rim. Use small sharp scissors to carefully cut balloon from rim, stretching and cutting balloon away. Each balloon has a different size rim, cut off desired amount and color of rims as needed for design.
- Position rims on foam in desired pattern or referring to photo for color and placement. Carefully lift a rim, draw a thin line of glue approximately the same size, and then press rim into glue. Repeat step with remaining rims. The glue will dry clear when dry but any mishaps can be cleaned off a small piece of damp paper towel if needed. Press down on rims every so often making sure they dry flat. Let dry. Swirl other ends referring to photo.
- To create antennae, use scissors to cut a 4” length from desired color of wire. Fold in half, press fold tightly together then bend end down about ¼”.
- Squeeze desired color of paint into rims or as shown. Overfill area as paint will shrink when dry, but make sure not to go over edge. Place antennae into head section, pressing bent end into paint. Any mishaps can be wiped off with small piece of damp paper towel. Once dry, another application of paint can be added if desired.
- Use sharp scissors to carefully cut out design leaving a thin border of foam showing.
- Add Magnet Button to back.
|