Be sure to follow manufacturer’s instructions on the package of clay.
Wash your hands after working with the clay.
- Tape foil to work surface. Open package of clay and cut off 1/4 from block. Knead in hands until smooth – about 1 minute. Place on work surface then use the glass to roll clay to about ¼” thickness.
- Place leaves, right side up, onto clay. Roll over leaves a few times with glass to press into clay. Run fingers along leaves to deepen impression in clay. Carefully remove leaves.
- Place pattern over clay then use knife to carefully cut around, removing excess. Use tooth piece to mark placement of holes. Remove pattern.
- Lift in hand and enlarge holes with toothpick. Dip a finger in water the rub along edges to smooth clay. Place on wire rack. Repeat step with remaining sides.
- Let dry following package instructions. Turn sections over a few times to evenly dry.
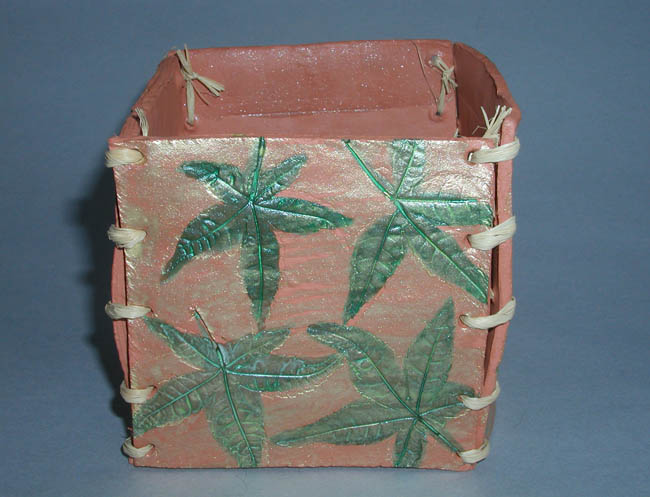
- Using the brush from the box, paint leaf impressions with Green paint from the Watercolor strip. Let dry then repeat step.
- Brush on a coat of Gold from the Metallic paint strip over the entire surface, even over painted leaves. Let dry.
- Pull a single strand of raffia from the bunch then use scissors to cut end at an angle – this will make lacing easier. Place two sections next to each other lining up holes. Insert raffia from the back at the bottom holes on one section, leaving about a 5” tail. Thread into the next hole then stand up sides. Continue lacing up the side then wrap the end under itself a few times, divide raffia and tie a knot to secure. Repeat step with other end of raffia. Continue with remainder of sides forming a square.
- Place small clay pot inside then add silk or real plants.