Be sure to follow manufacturer’s instructions on the package of clay.
Wash your hands after working with clay.
1. Use wax paper to cover your work surface. Hold in place with masking tape.
2. Glue 2 craft sticks together and set aside to dry. Repeat with 2 more craft sticks.
3. Pull off a lump of clay about the size of a walnut. Roll it in your hands to make a smooth ball. Lay it down on your work surface and roll back and forth to make a log about 2” long. Place the glued craft sticks on each side of the clay. Roll the clay with the wooden dowel resting on the craft sticks. This assures even thickness.
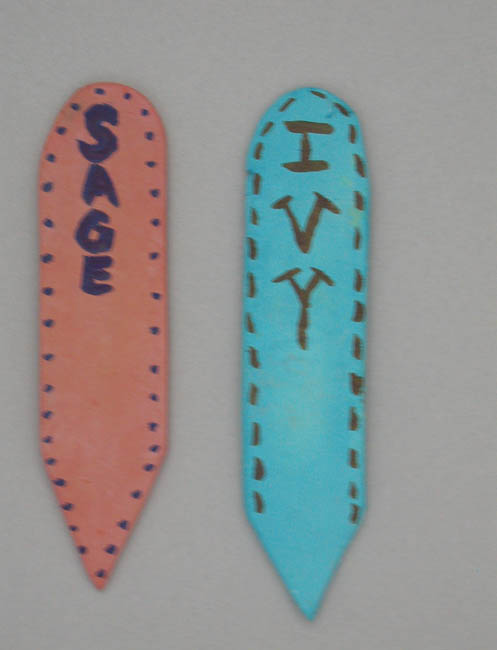
4. Use the plastic knife to cut your plant marker, rounding the top and making the bottom a V shape. You can use a stylus to etch a plant name into the clay marker. Set the clay marker aside to dry, turning it over occasionally. Keep any remaining clay in a sealed plastic bag to use another time.
5. Make sure the clay plant markers are dry. Use the sandpaper to smooth any rough edges on the plant markers. Wipe with a paper towel to remove sanding dust. Paint the clay plant markers with the watercolor paints. Immediately dab the wet paint with a paper towel you have gathered into a loose shape. Let dry. Repeat with other side of marker. Let dry.
6. If you did not etch a plant name into the clay marker, you can write the name of the plant on the plant markers using a brush pen. Add other decorations if you want.
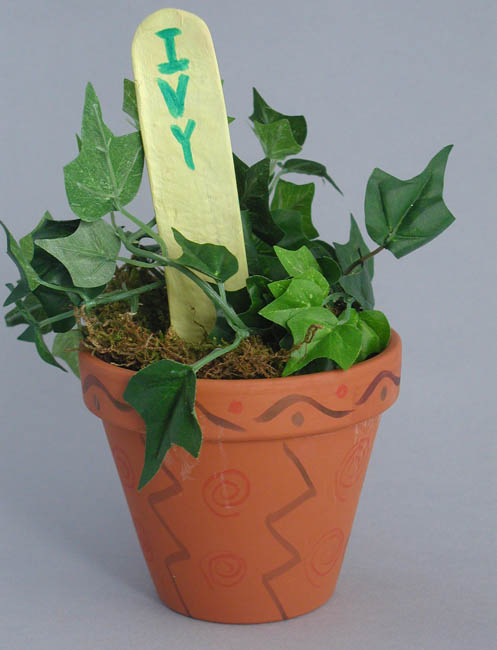
7. Put soil in a pot. Plant seeds or plants. Add moss to cover the soil. Insert one of the clay plant markers to identify what is growing.