1. Measure the front of the binder to determine how big the full calendar will be. The width of the calendar space will be divided by 7 and the length will be divided by 5 to determine the size of each calendar square. We created a calendar that was 9 1/2" wide x 10" tall. Each square is 1 1/4" wide x 2" tall.
2. Using a ruler and a pencil, draw the calendar grid onto the binder front. Remember to make the calendar sit low to the bottom of the binder front so that you have room to write in the days of the week and the month at the top of the binder. If you make a mistake, simply use an eraser!
3. Use a pencil to write the days of the week at the top of the calendar. (Don't write the month in pencil or metallic marker as you will use chalk for it so that you can change it all the time!)
4. Use the Metallic Markers and a ruler to draw the calendar grid and days of the week permanently on the binder front.
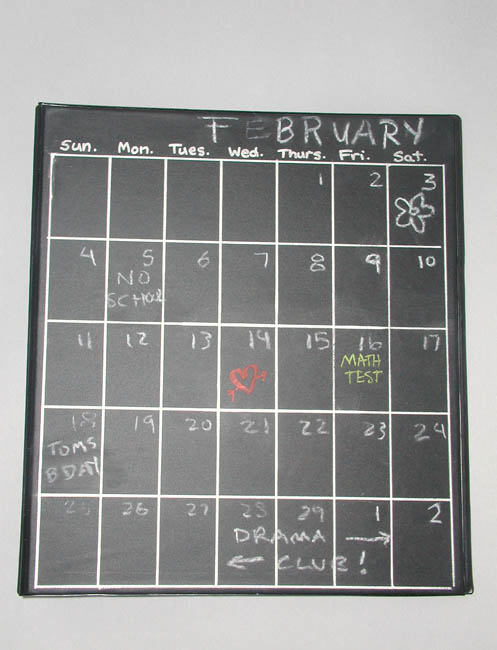
5. Use chalk to write the Month and dates onto the calendar. Add in special events and your schedule too! Try using colored chalk too, or even chalk markers on your calendar.
6. When the calendar month is finished, use a damp cloth to wipe away the old dates and month.
 |
|