| |
 |
|
|
|
|
 |
|
|
| |
21
Make your guests feel welcome with this beautiful Majolica inspired sign.
 |
When
you see the “helping hand” symbol on a project, it means
you may need adult supervision to do the project. Always cover your work surface with a mat or some type of protective covering like wax paper or plastic. Always use care when using tools or a heat source. Be careful and safe! |
Age Range: 7 to 12
Grade Range: 1 to 6
Skill Level: Moderate
Appropriate for These Special Events
Christmas
Kwanzaa
Hanukah
Valentine’s Day
Saint Patrick’s Day
Mother’s or Father’s Day
Easter
Halloween
Birthdays
Every Day and Rainy Days
Supports Subject Area(s) of:
Social Studies
Language Arts – e.g. step by step instructions
Visual Arts
Math – e.g. measuring
Time Needed for Project:
1 hour plus drying time
|
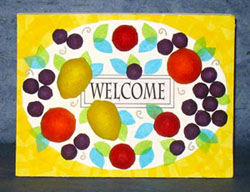
The name majolica was derived from Majorca, the port from which majolica originally was traded. In the 13th century, during the Renaissance, a small town in Umbria called Deruta, made use of the special clay from the Umbrian hills to establish itself as the center for the production of majolica and Italian pottery. The clay is formed, dried and fired for the first time. The cooled form is dipped into a mineral oxide bath, creating a white opaque background on which the designs may be painted. The painted form is fired a second time, for up to 24 hours.
|
- 1 – 9” x 12” Elmer’s® Bi-fold Foam Board™
- FloraCraft® Styrofoam® 1” balls, 1 ½” balls and 2” ball, 2 ½” egg
- Elmer’s ® Glue-All™
- Non-bleed tissue paper
- Scissors
- Paint brush
- Disposable container
- Wax paper
- Elmer’s® Painters® Paint Pen, champagne
- Plastic knife
|
- Mix 2 parts glue and 1 part water in a disposable cup. Tear tissue paper in 1”-2” pieces. Cut green and turquoise tissue leaves. Set aside. Prepare your work surface with a sheet of wax paper.
- Cut Styrofoam balls in half. To shape a lemon, cut Styrofoam egg in half. Pinch and shape Styrofoam ends. Paint the ball half with glue and water mixture. Lay a piece of tissue paper on wet glue, then brush more glue mixture on top. Continue adding and overlapping tissue paper until the ball half is covered. Place tissue-covered Styrofoam on wax paper sheet. Make apples and grapes the same way.
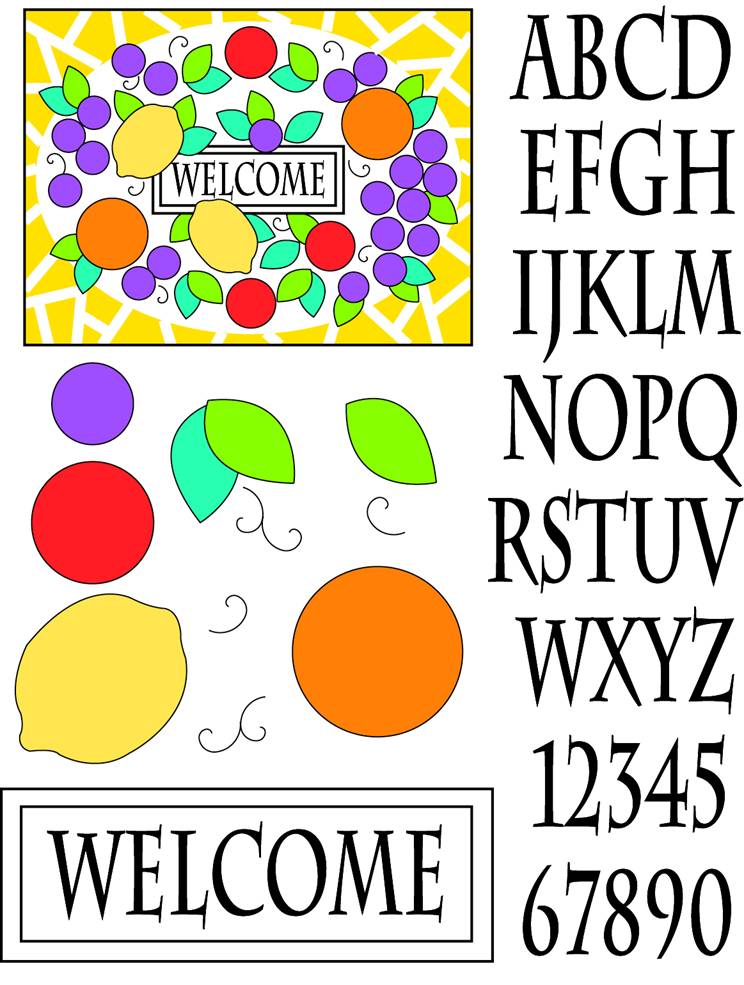
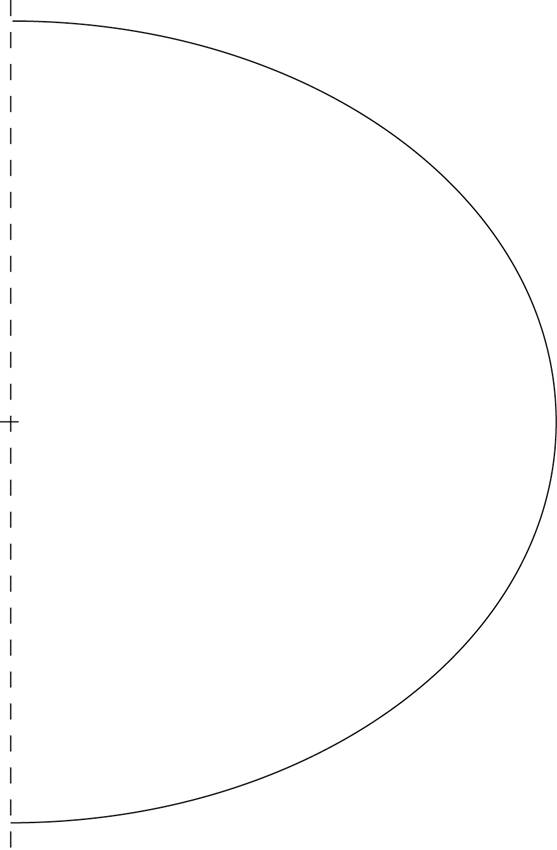
- Measure and lightly mark board center. Cut out oval pattern. Lightly pencil oval on board. Cut the ‘Welcome’ sign from pattern, or create your own lettering for your sign. Cut out rectangle and mark center. Decoupage on center of board with glue mixture.
- Brush glue and water mixture on a portion of the board oval border. Lay a piece of yellow tissue paper on wet glue, then brush more glue on top. Continue adding and overlapping tissue paper until the yellow tissue border is completed. Tissue paper will extend beyond the foam board edges. This will be trimmed away when the tissue has dried.
- Arrange and decoupage tissue leaves on board. Apply full-strength glue from bottle on the flat side of Styrofoam fruit. Arrange fruit on board. When glue dries, add swirls with a permanent marker. Trim away excess tissue paper from border edge.
|
Travel around the world and experience the culture, arts and traditions that make the world unique. Visit Peru, Italy, Canada, USA, Australia, Japan, China, Russia, India, Mexico, Ghana, Egypt, and Scotland.
Click here to order now!
|
|
| |
|
|
Home
| Television | Projects
| Book Order | Helping
Kids | Teachers | Philosophy
E-mail questions about Hands On Crafts for Kids to info@craftsforkids.com
© Copyright 2010 Katherine Stull, Inc. |